Instructions
Windows
- Download the latest Citrix Receiver from https://www.citrix.com/go/receiver.html
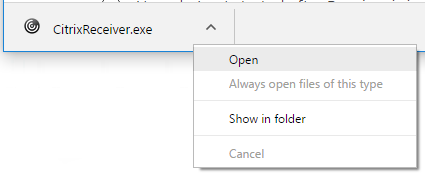
- The installer needs downloaded and installed, click the 'Run' or 'Open' button to begin the download. If you receive a prompt asking for permission to continue, click 'Yes'.
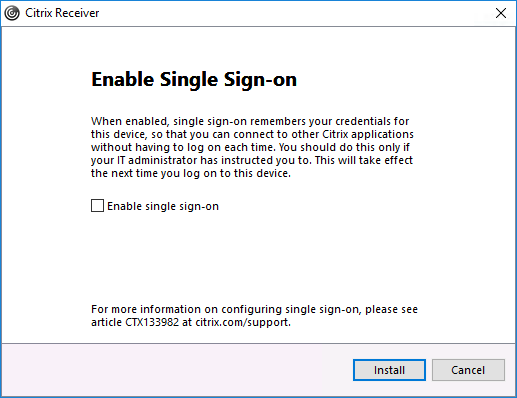
- The installer should open, click the 'Start' button to begin installation.

- You do not need to check or enable 'Single Sign-on'.
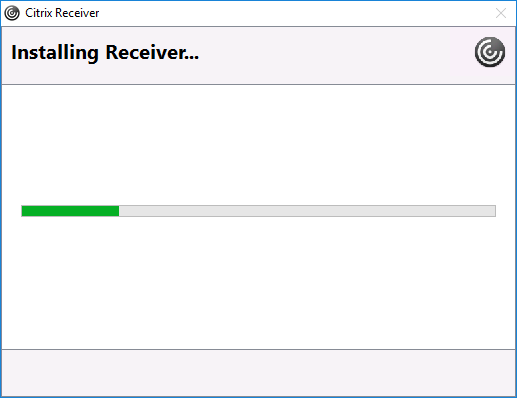
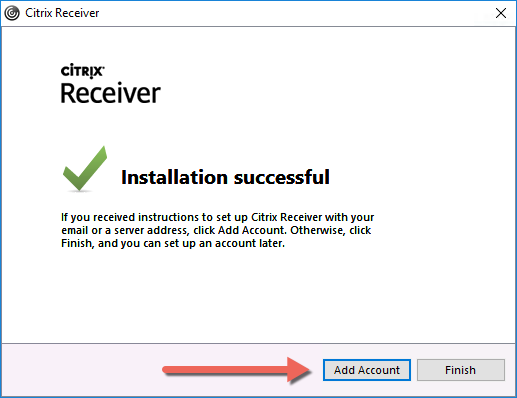
- Citrix Receiver should begin installing and finish in a few minutes.
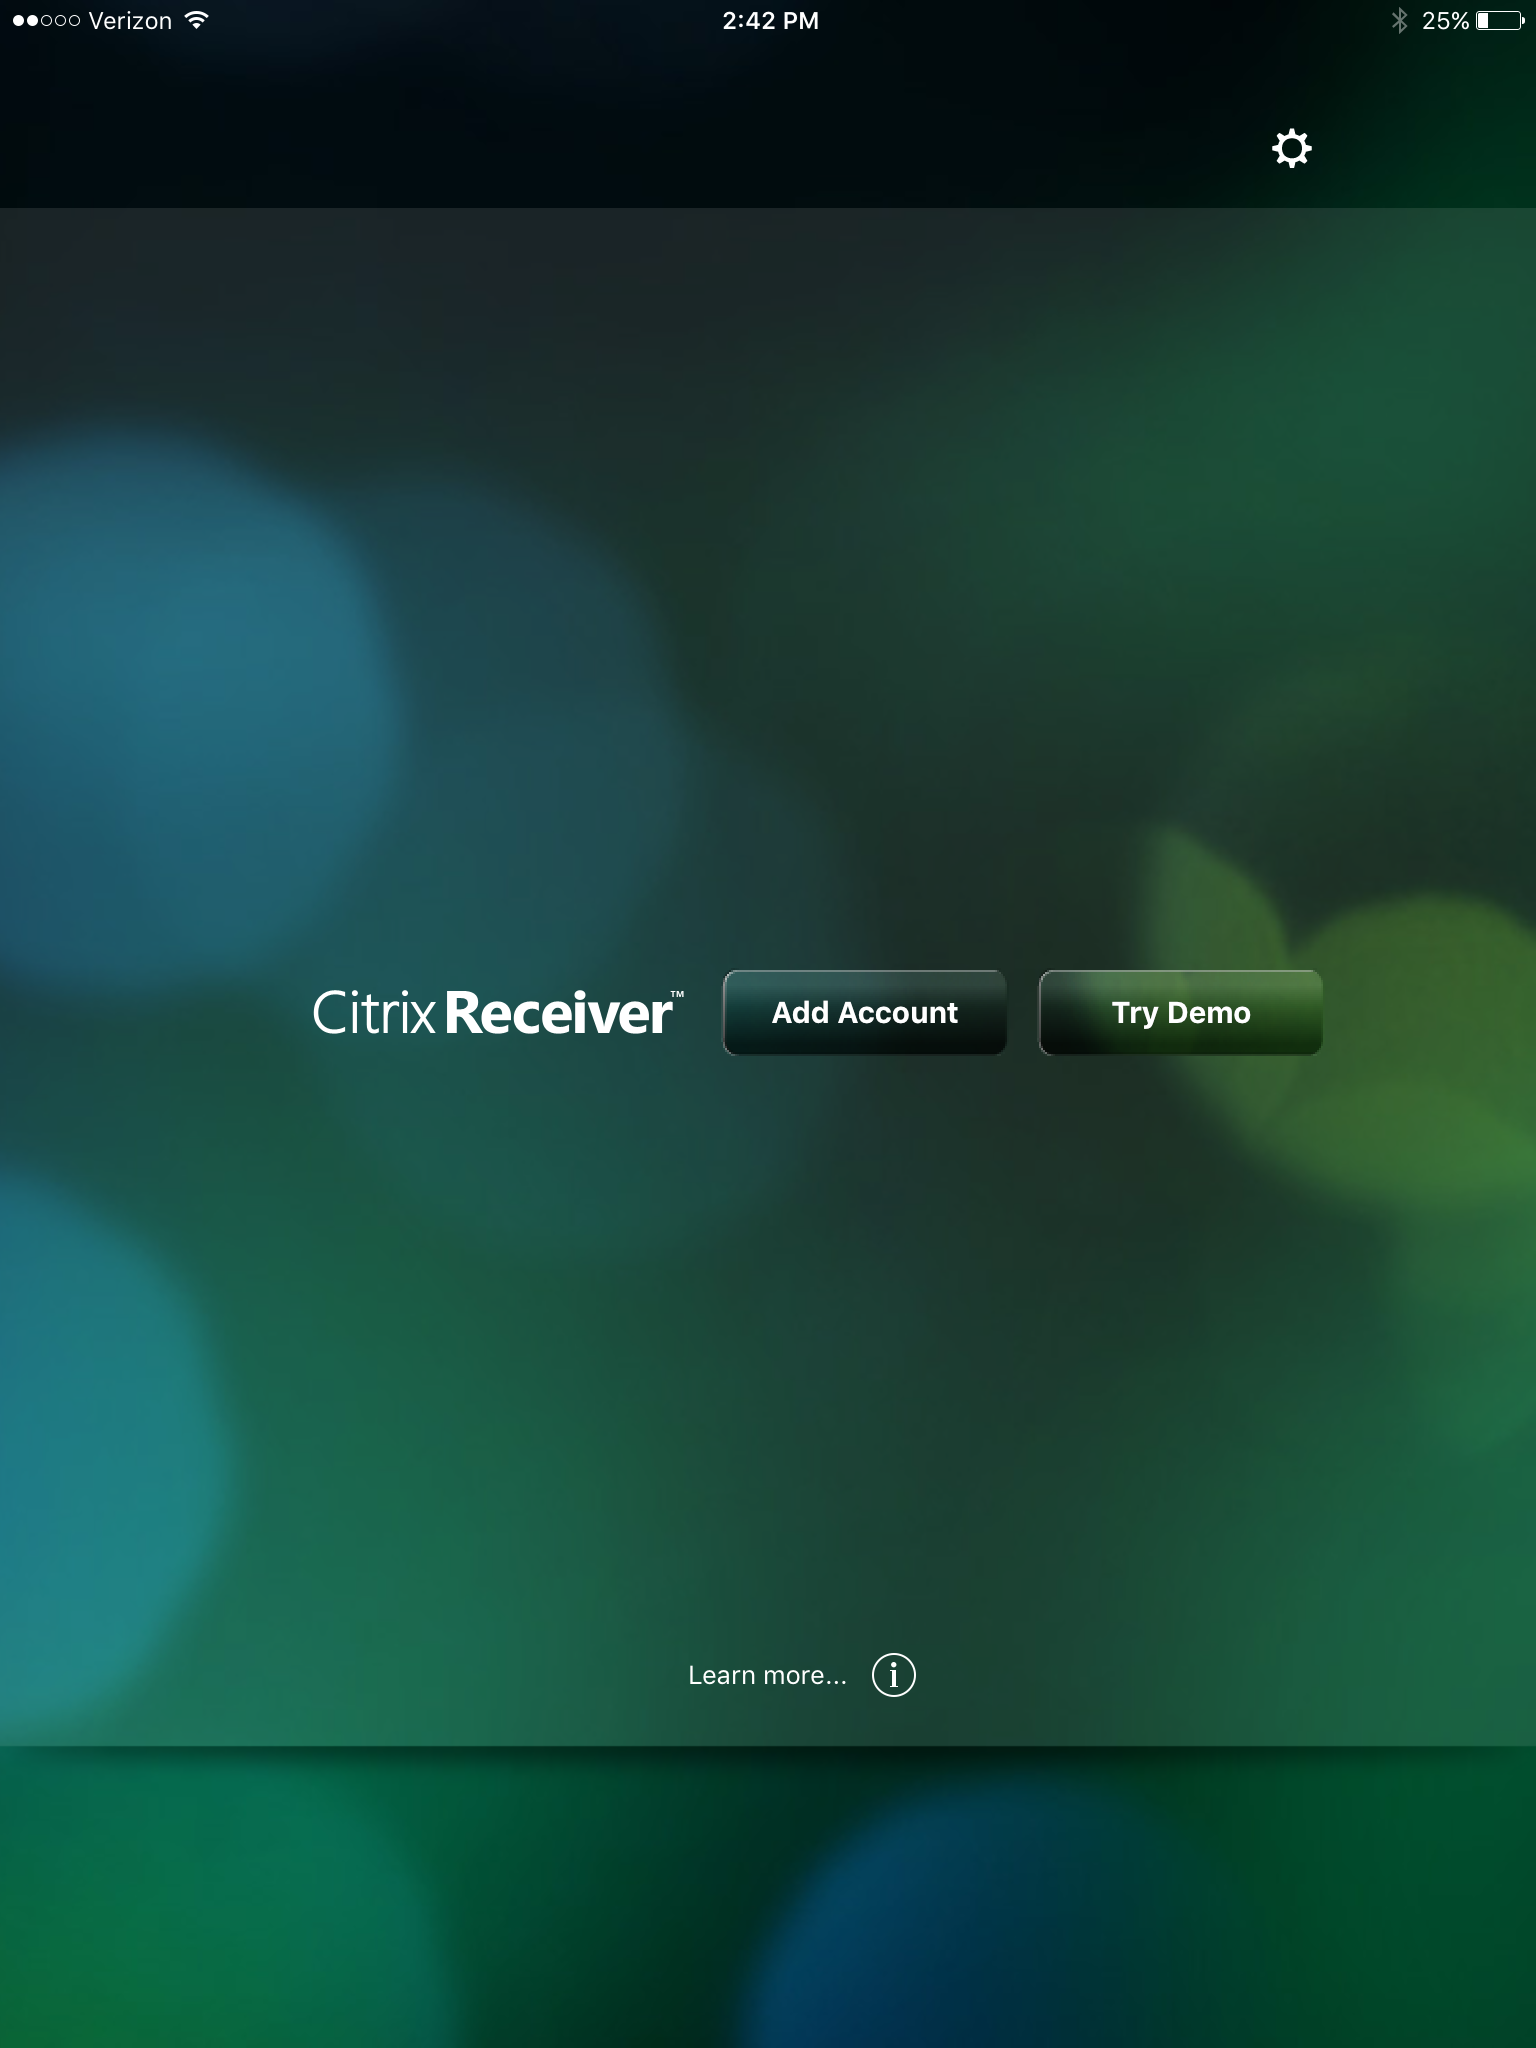
- Click the 'Add Account' button once completed.
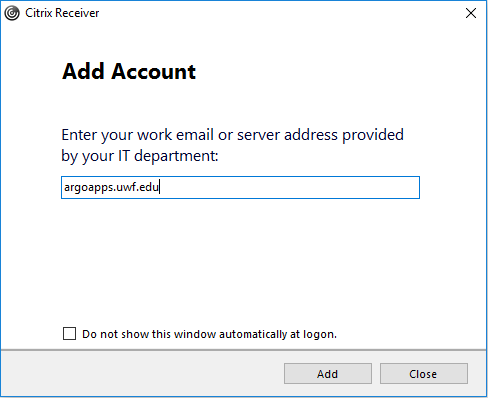
- Enter argoapps.uwf.edu for the server name.
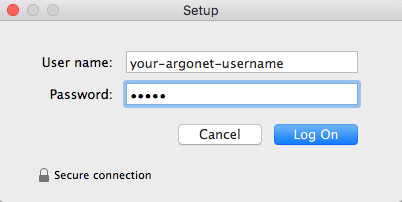
- Enter your ArgoNet credentials when prompted. You may receive two prompts for your credentials.

Congratulations, you should now be able to use the Citrix Receiver to access ArgoApps.
Mac
- Download the latest Citrix Receiver from https://www.citrix.com/go/receiver.html
- Once the installer is downloaded, click the 'Open' button on the downloaded file to begin the installation.

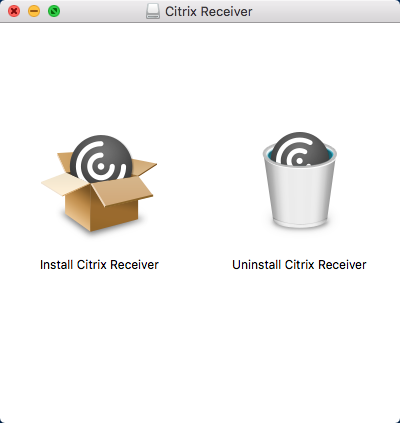
- Double-click the 'Install Citrix Receiver' icon to being installation.
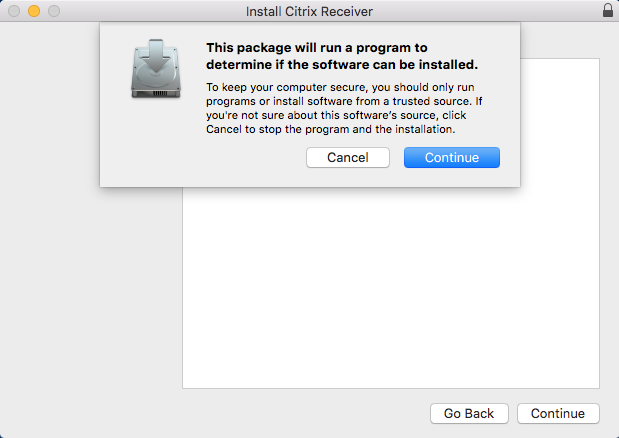
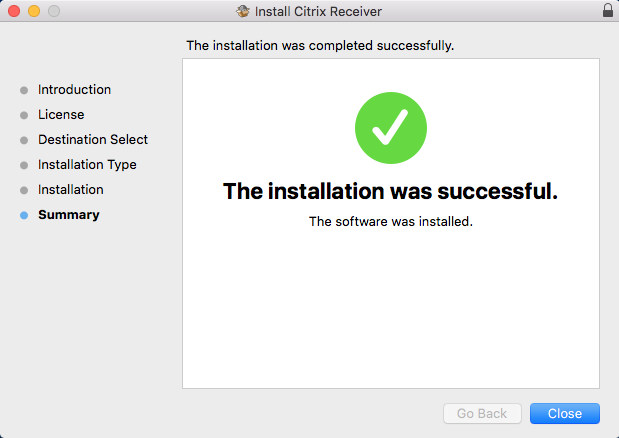
The installer should open. Click 'continue' and go through the installer until it completes.
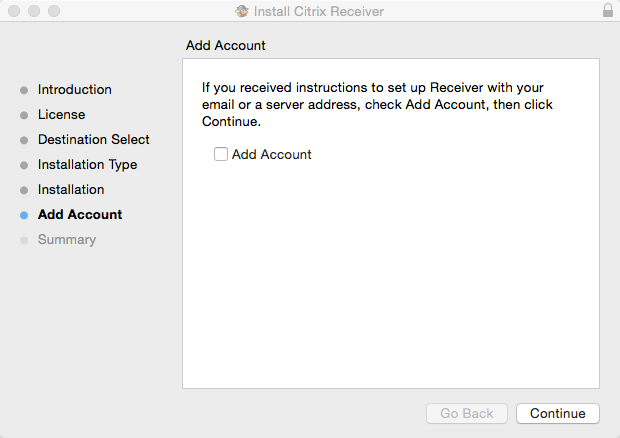
Add Account section
If you are prompted to check an Add Account option, please do so.
- Open 'Citrix Receiver' from your applications
- Once open you will be prompted to add an account, enter argoapps.uwf.edu for the server name as shown below.
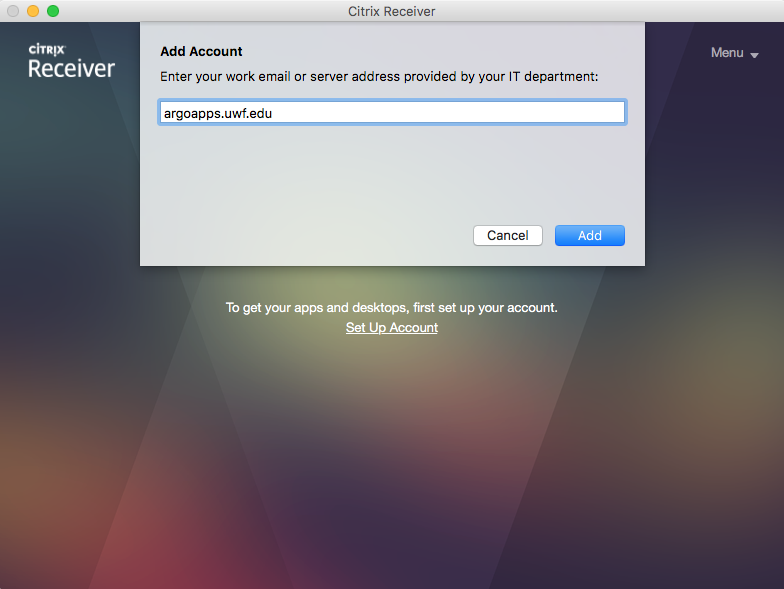
- When prompted for credentials, enter your ArgoNet username and password
Congratulations, you should now be able to use the Citrix Receiver on your Mac to access ArgoApps.
iOS
- Install the Citrix Receiver app from the Apple App Store.
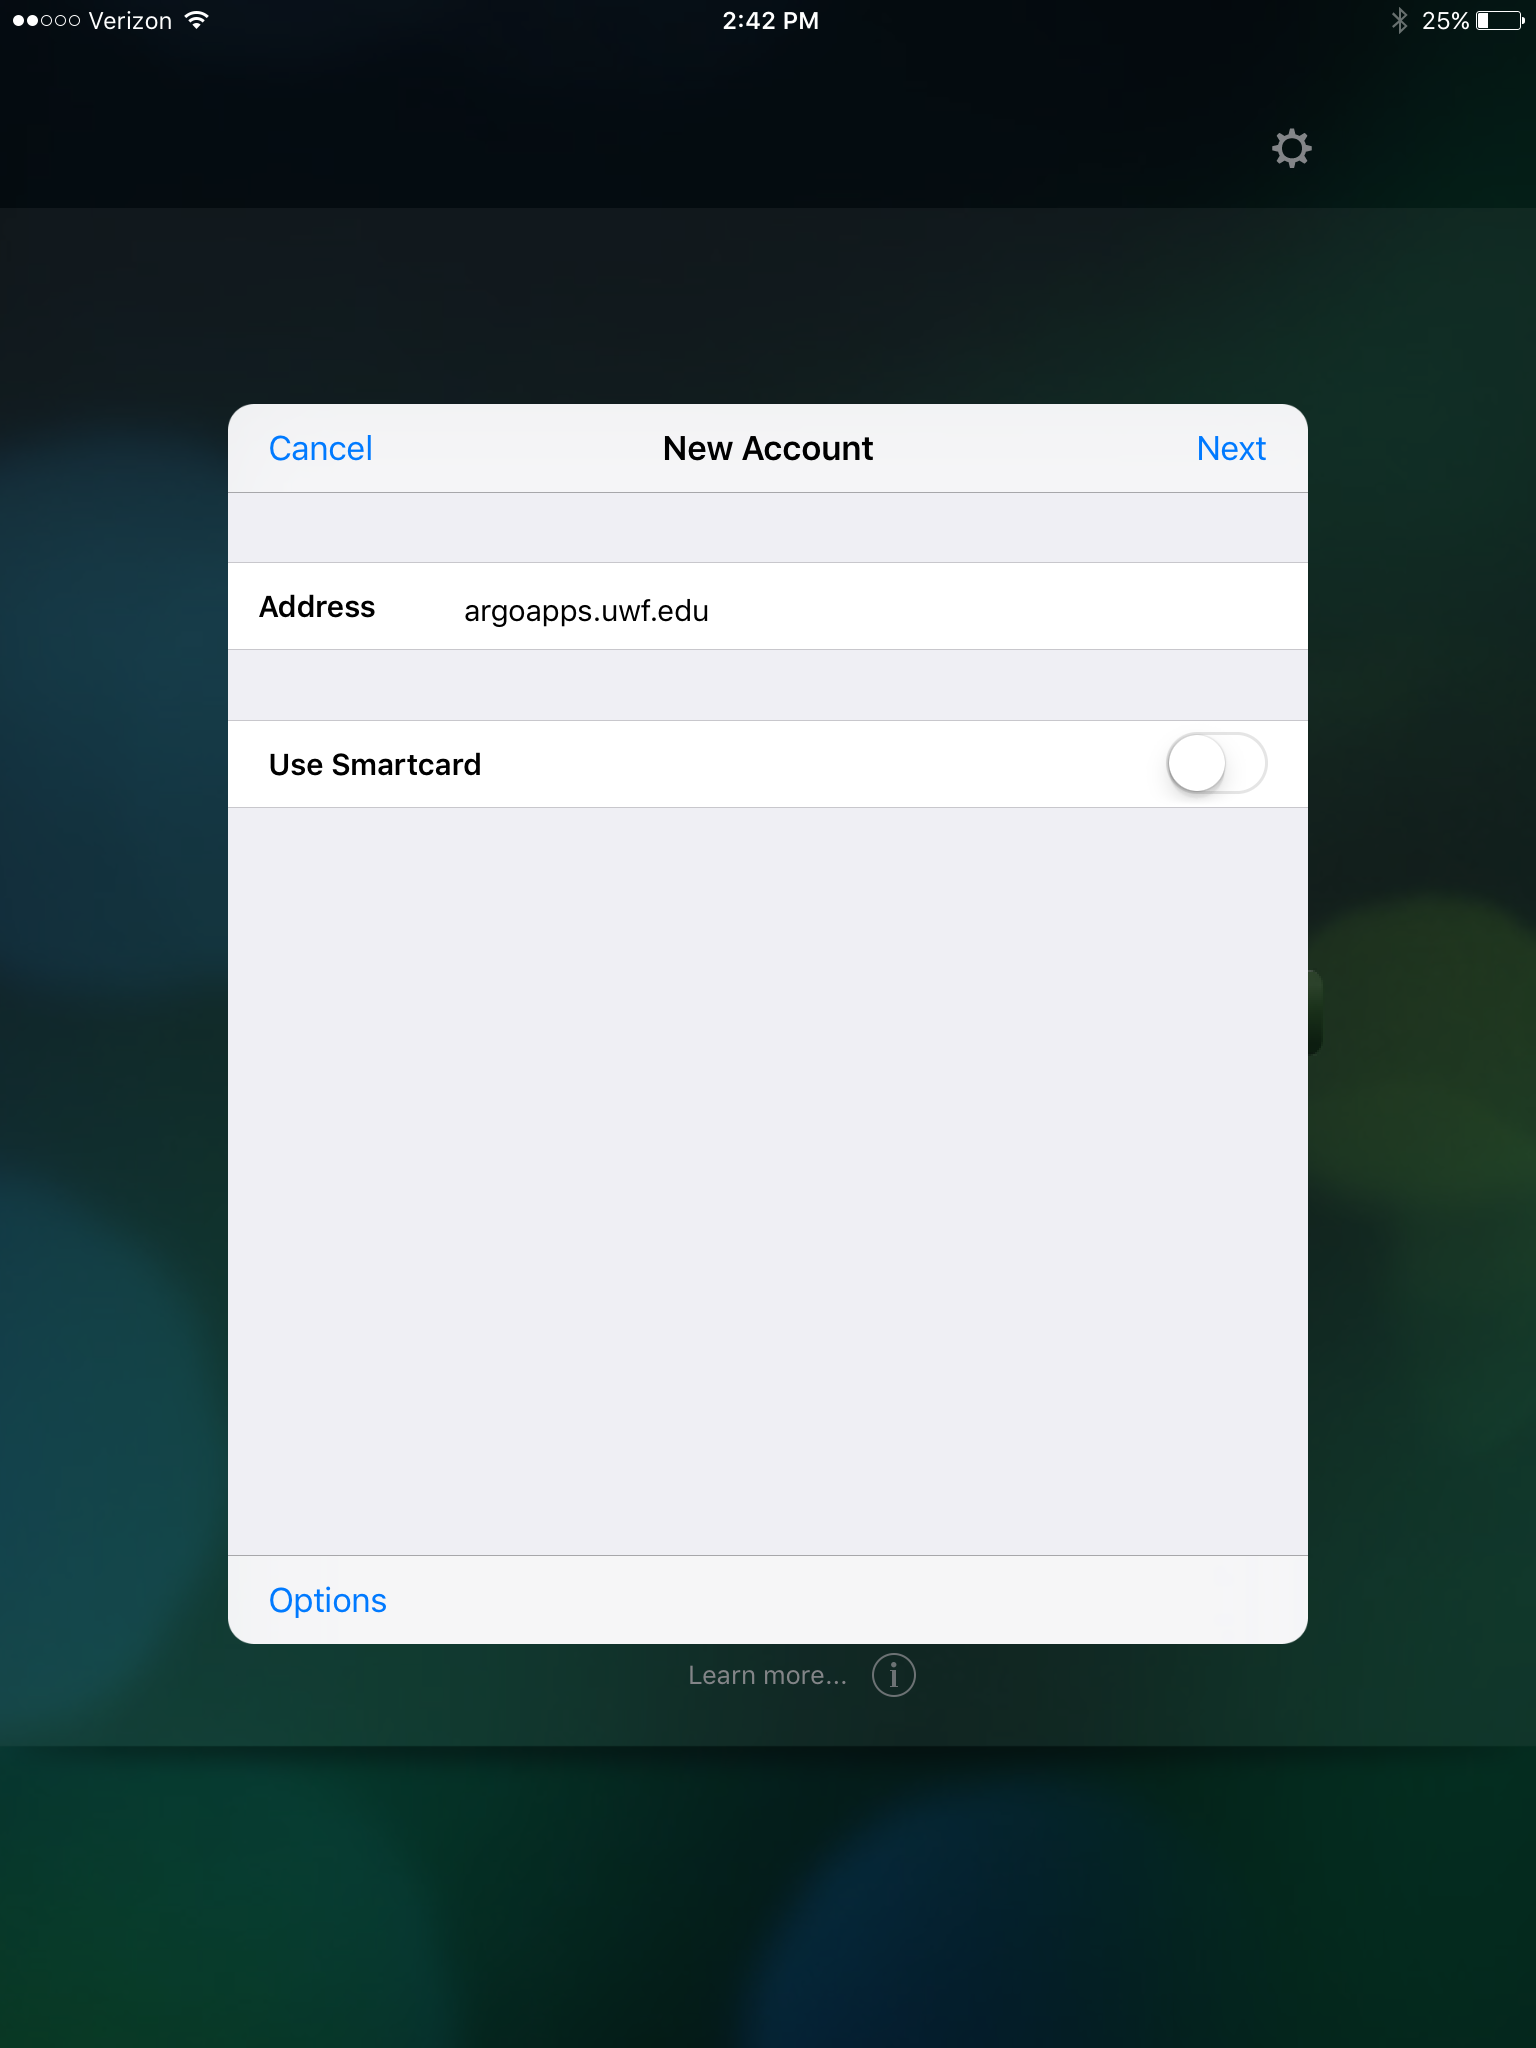
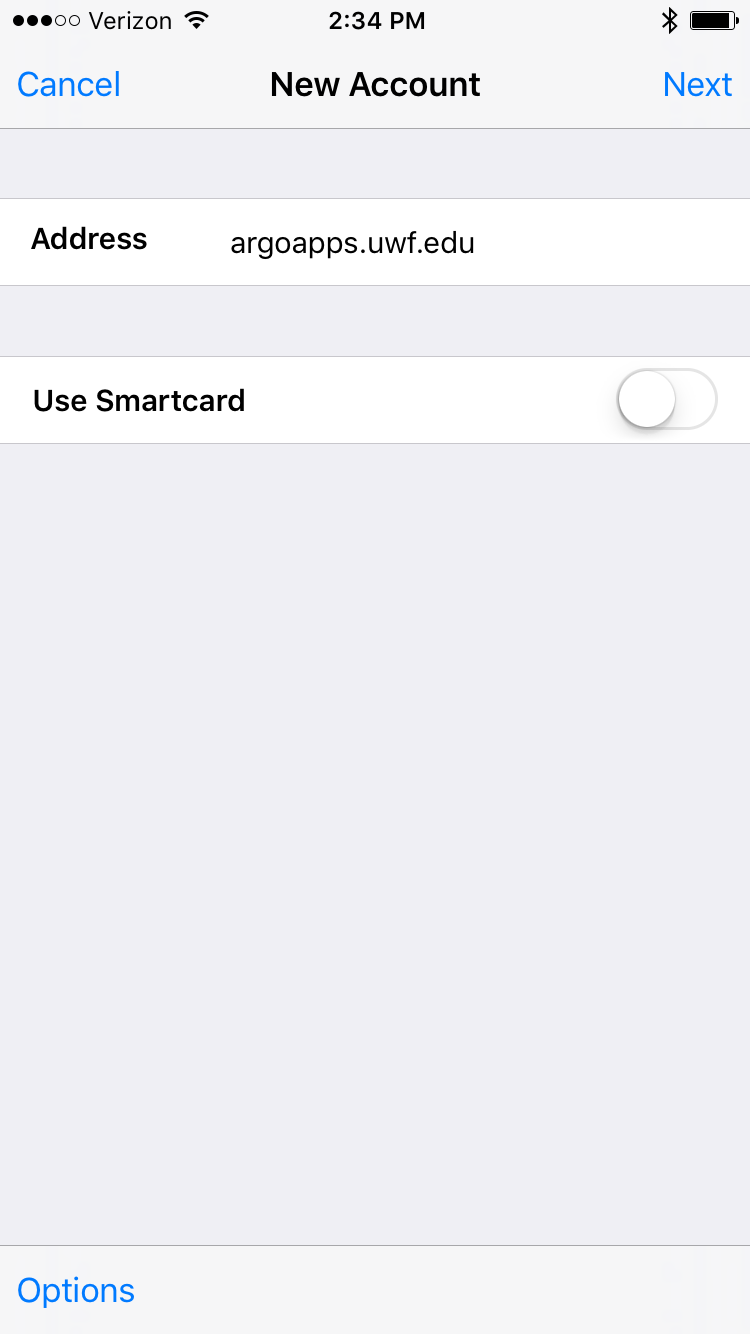
- Once installed, click "Add Account", type in the server name argoapps.uwf.edu for the address, and click "Next".
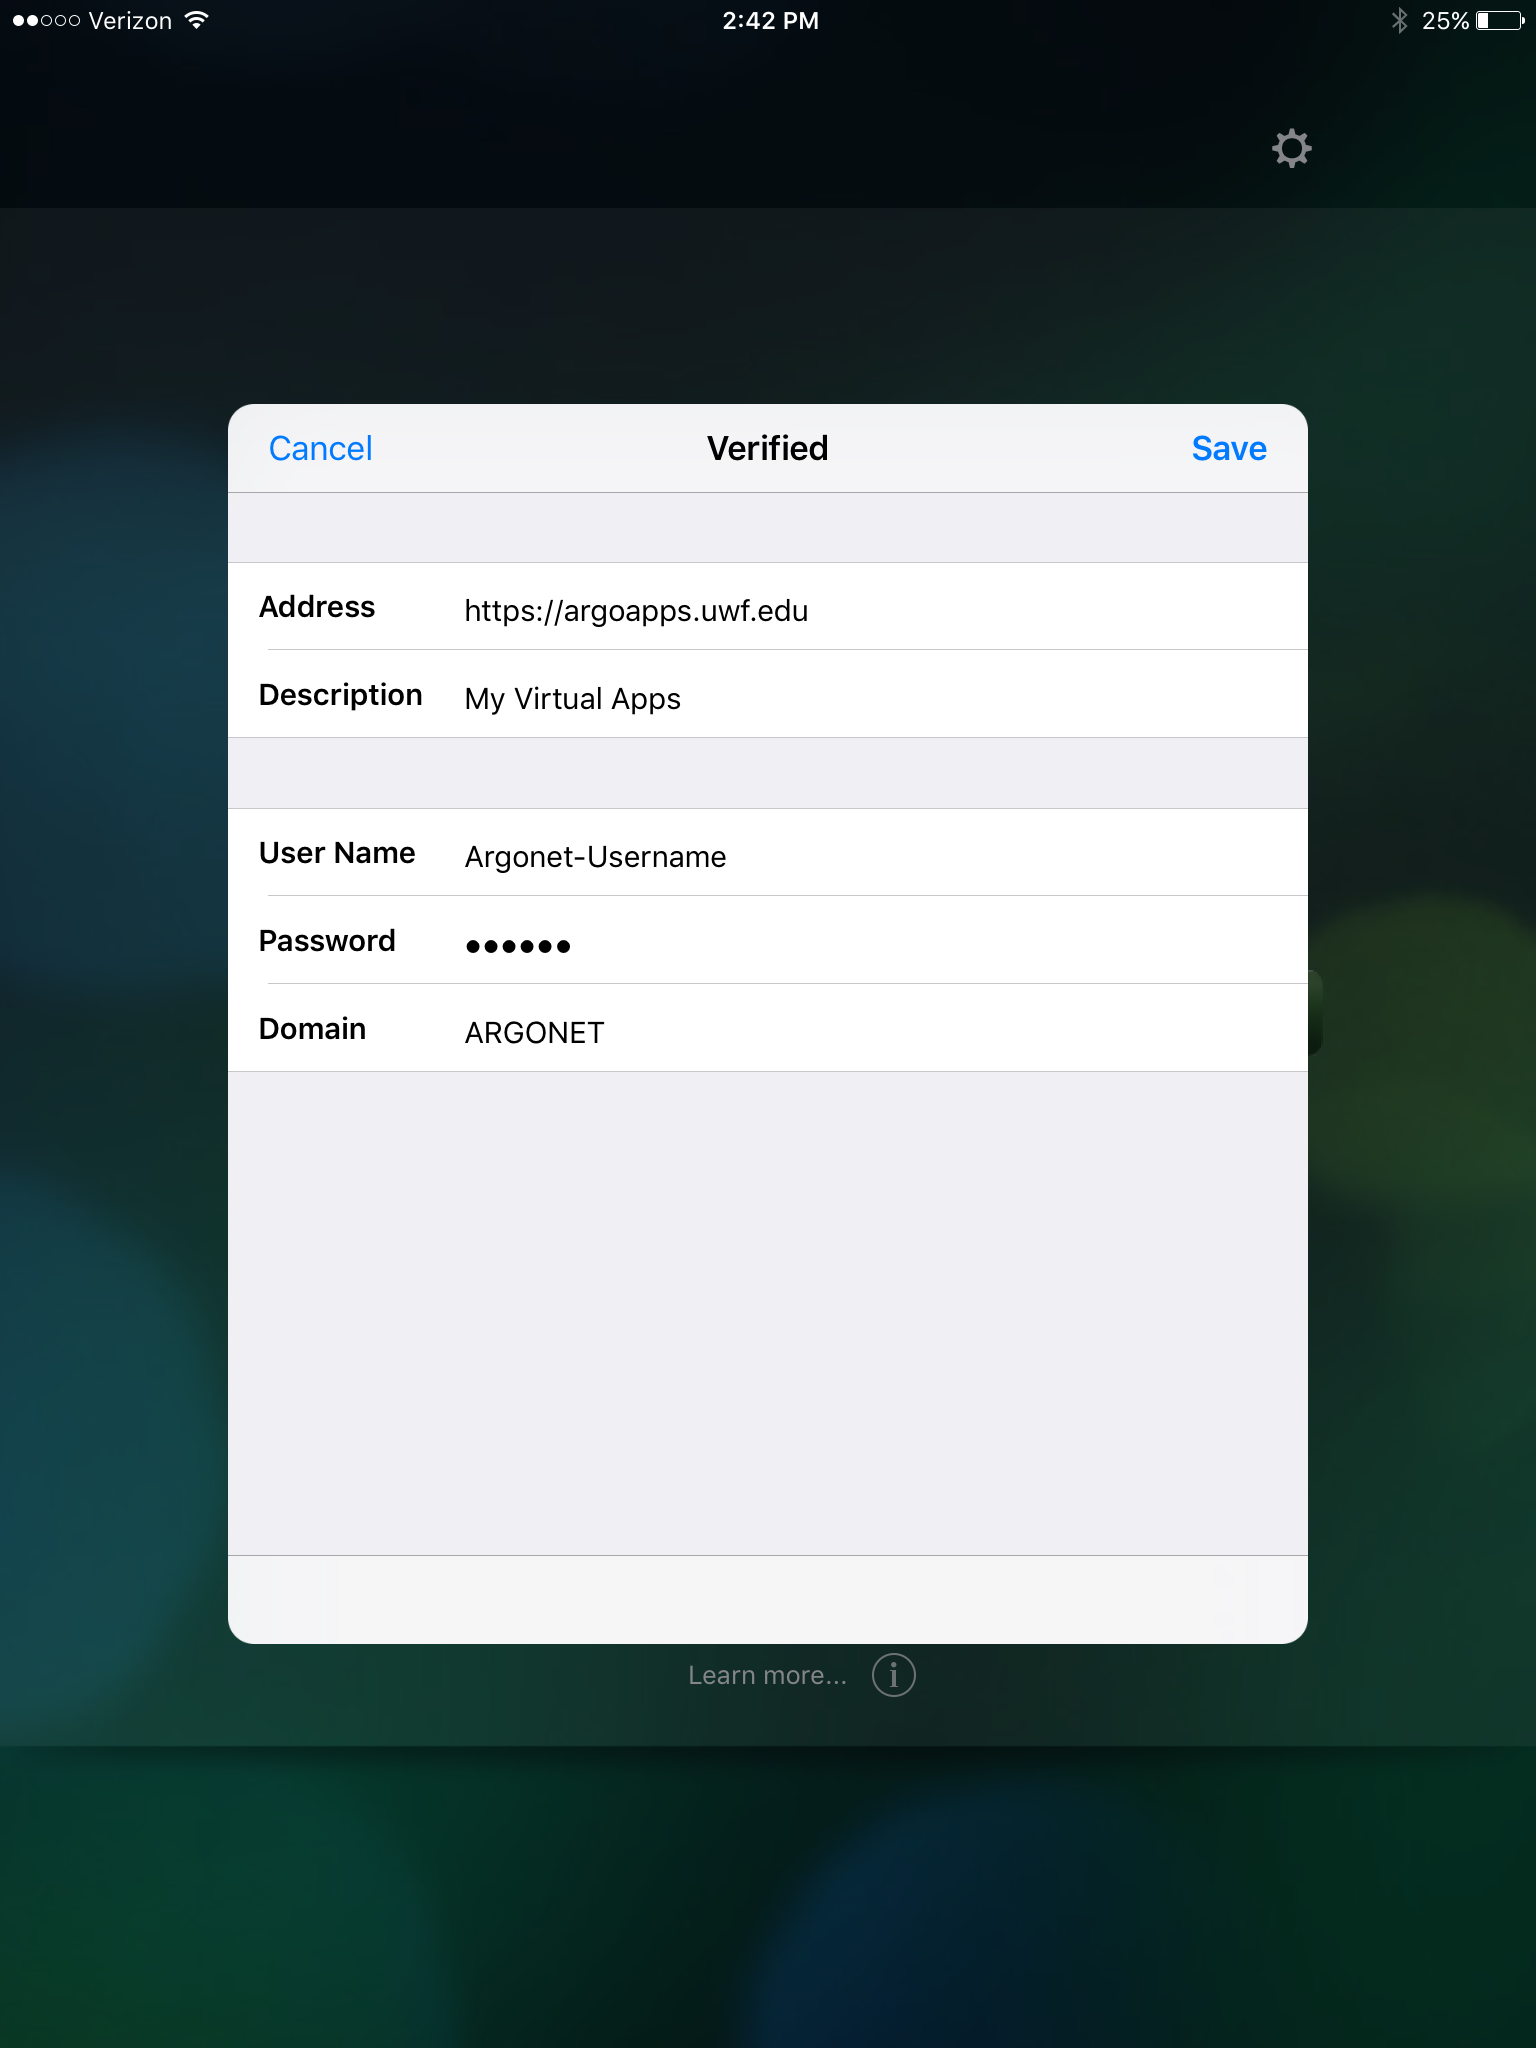
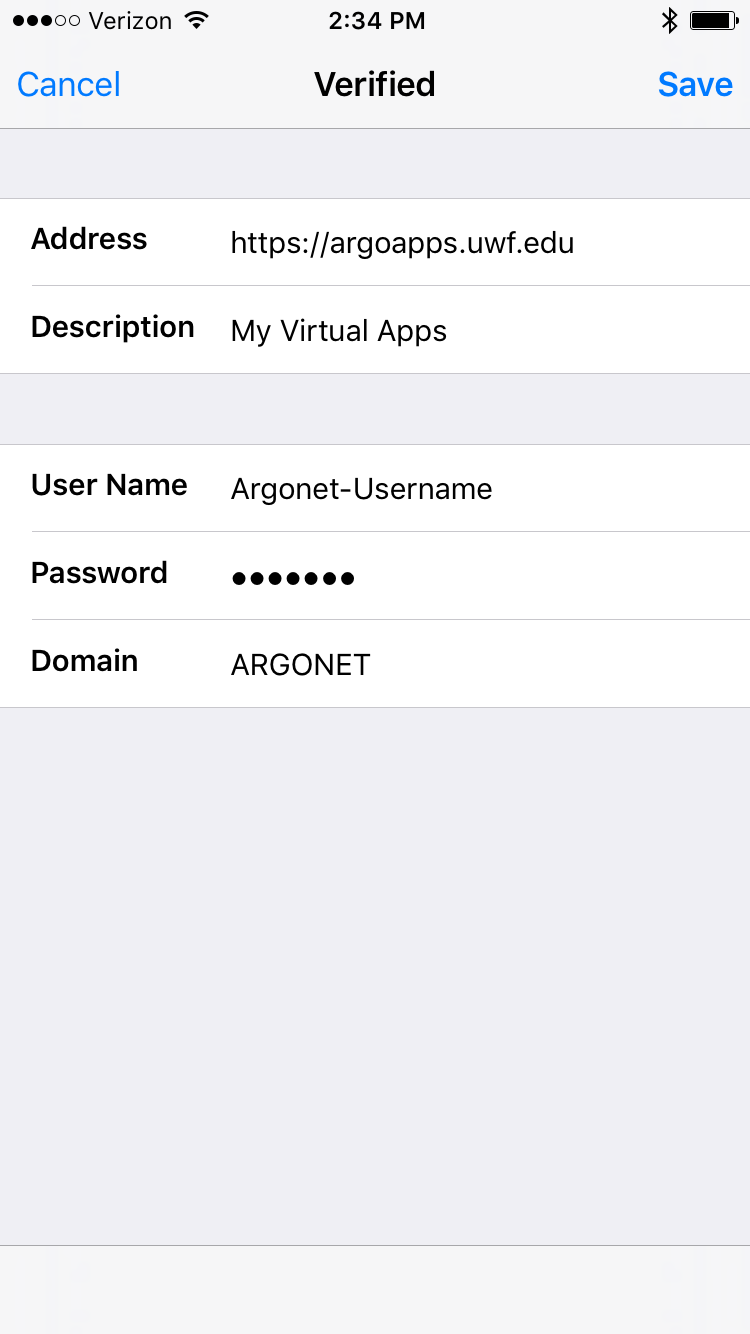
- When prompted for your credentials, enter your ARGONET username and password. For the domain enter "ARGONET" as shown in the screenshot below.
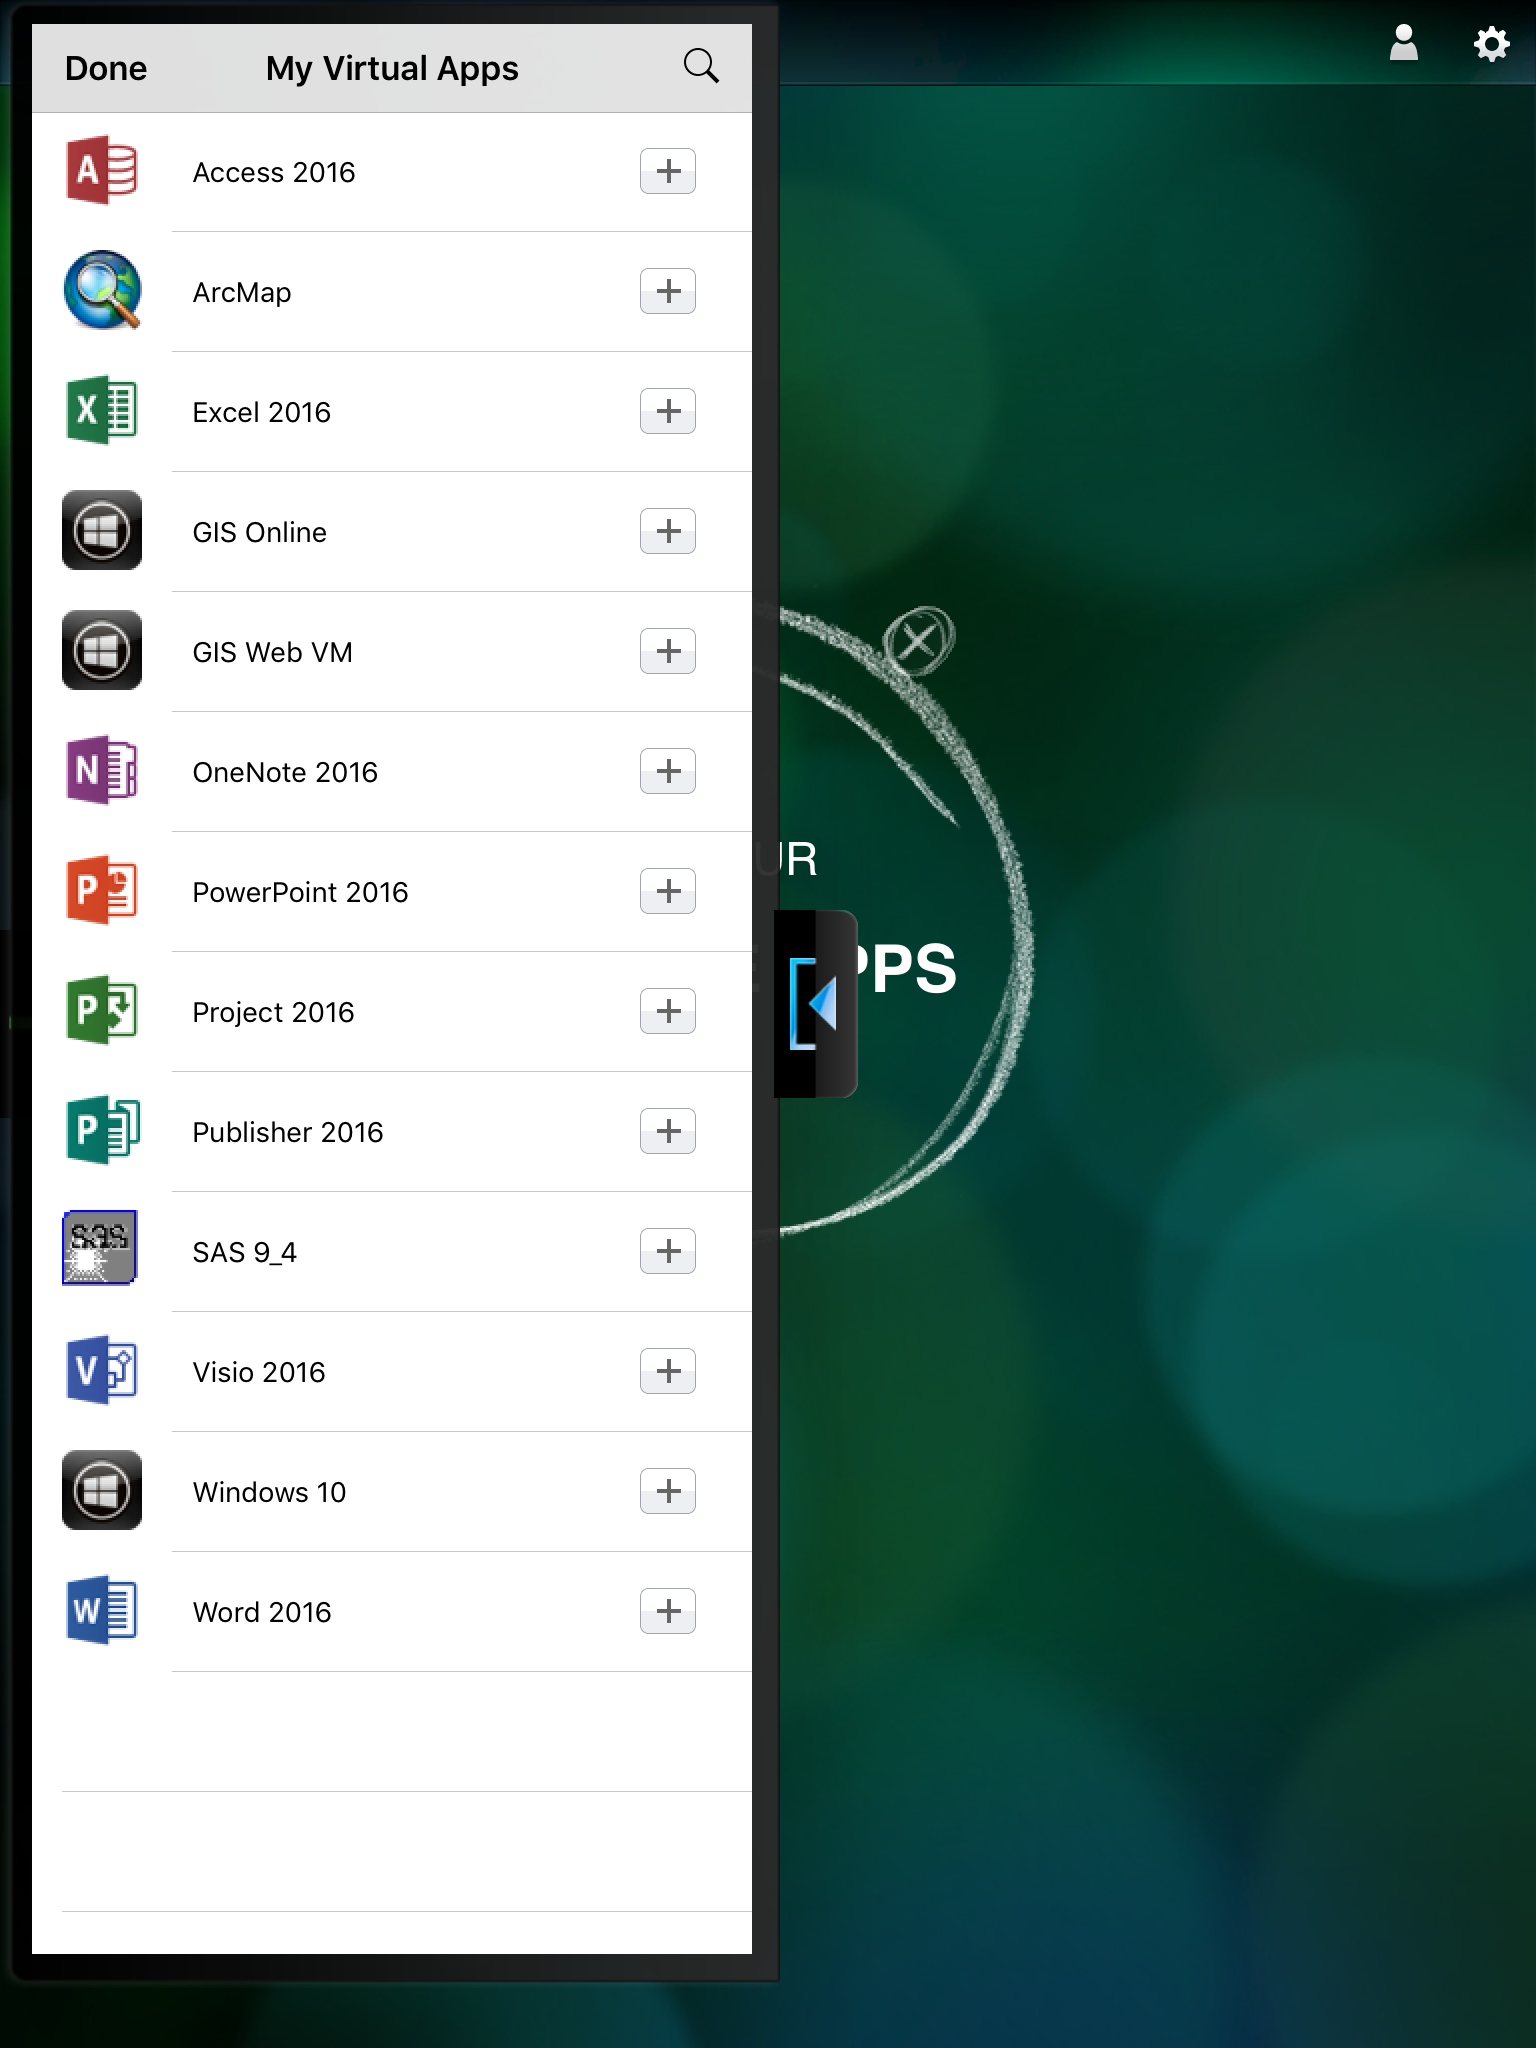
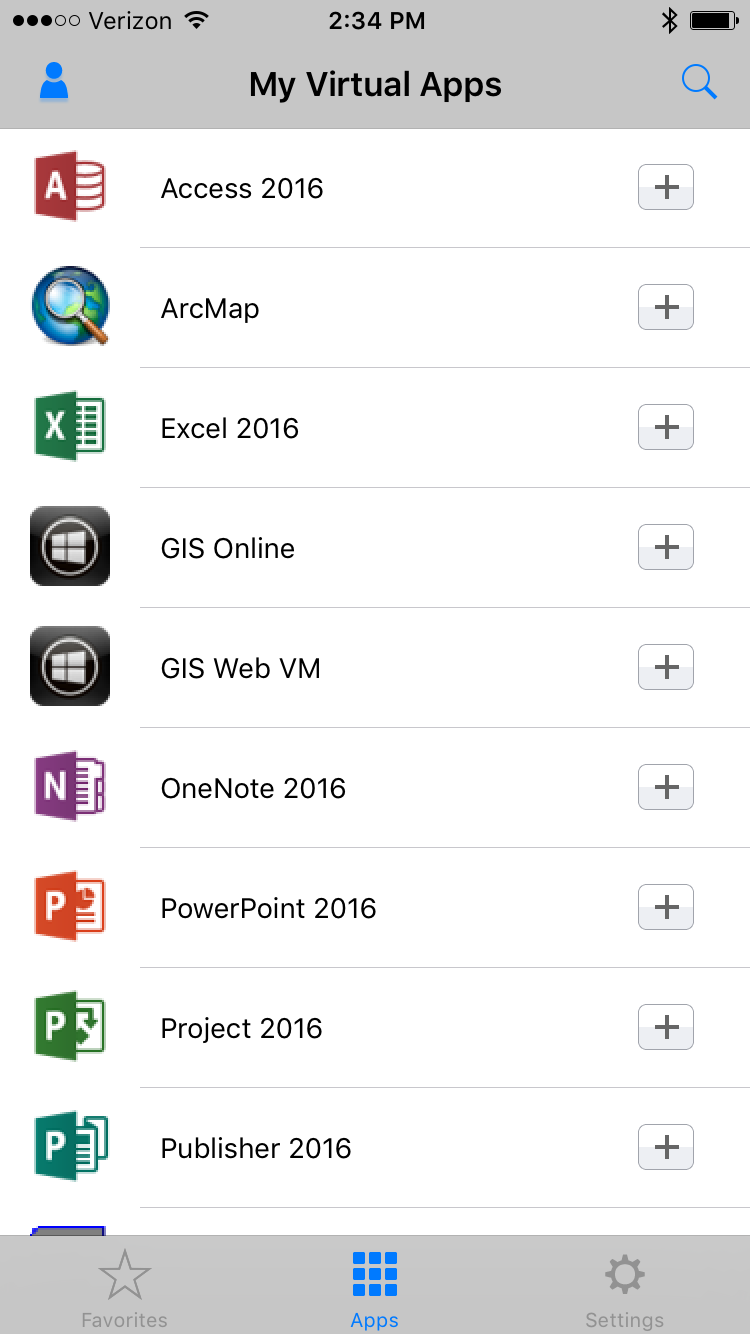
- You should now be able to select from the available applications on the left side by tapping the "+" icon.
- Install the Citrix Receiver app from the Apple App Store.
- Once installed, click "Add Account", type in the server name argoapps.uwf.edu for the address, and click "Next".

- When prompted for your credentials, enter your ARGONET username and password. For the domain enter "ARGONET" as shown in the screenshot below.
- You should now be able to select from the available applications on the left side by tapping the "+" icon.
Other
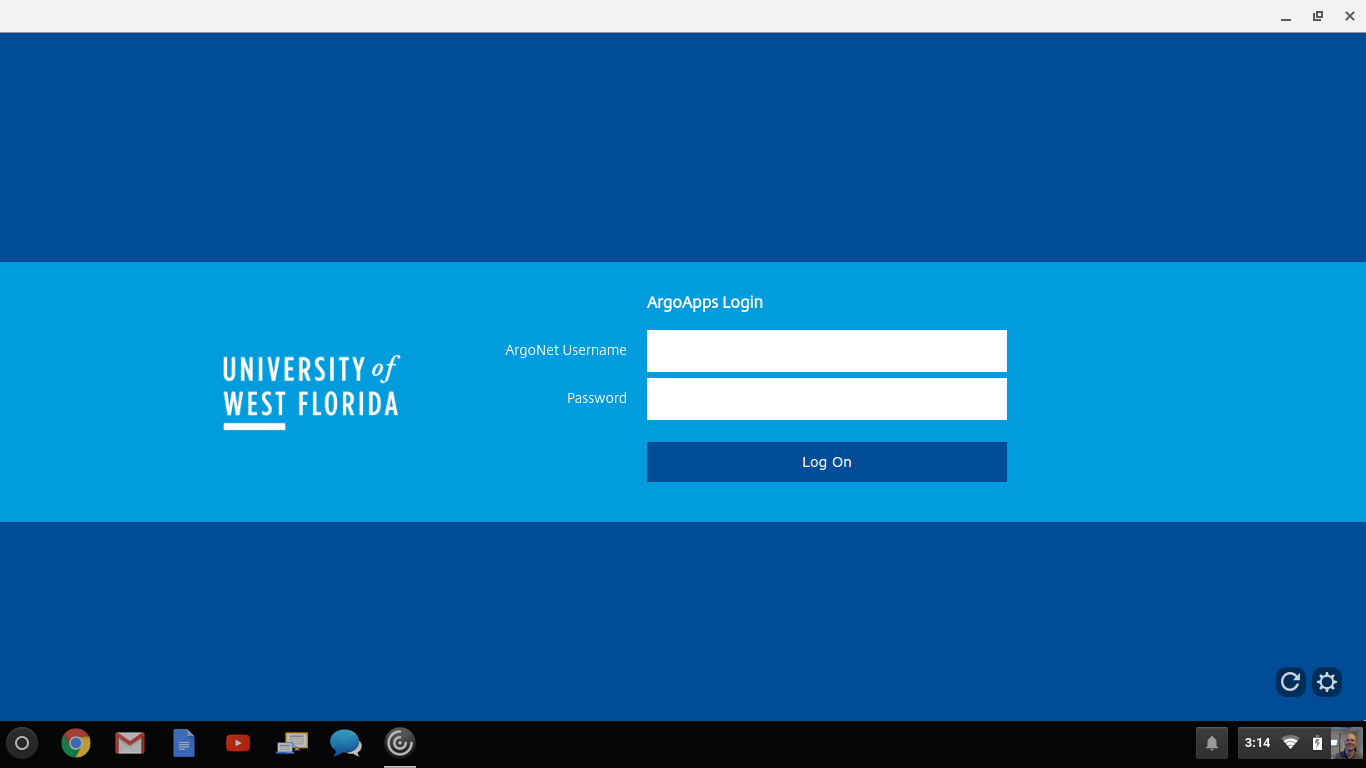
- Install the Citrix Receiver app from the Chrome Web Store

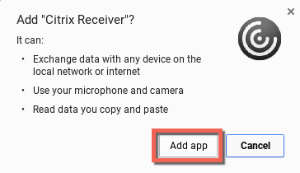
- Once installed it should automatically open Citrix Receiver where you will have to provide a server address of https://argoapps.uwf.edu
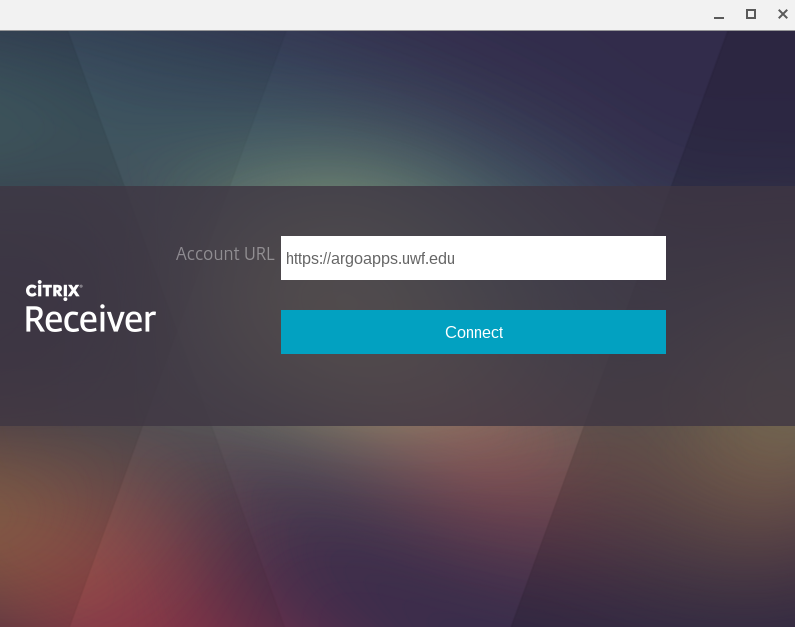
- When prompted for your credentials, enter your ARGONET username and password.