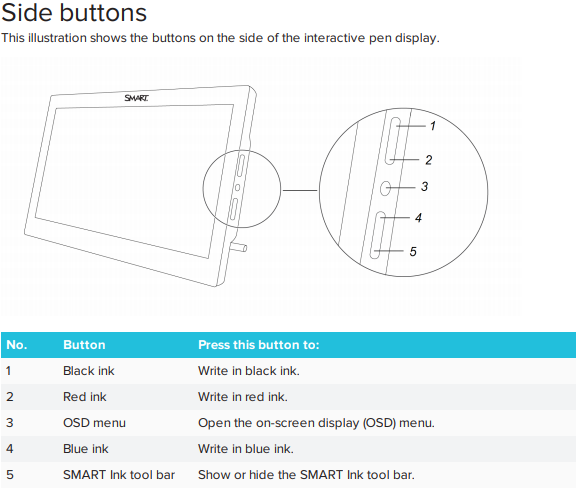
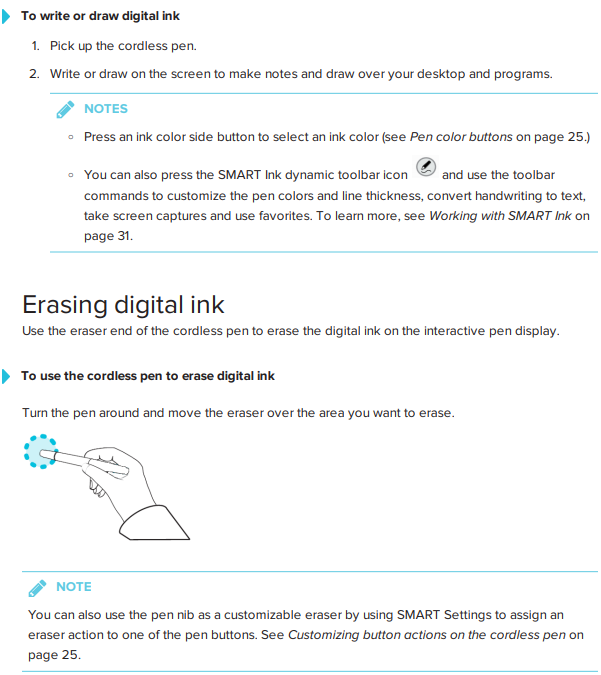
- Buttons are located at the right-hand side of the screen. Does not include eraser button. Eraser is used by turning the SMART pen upside down or selecting the eraser function in SMART Notebook.
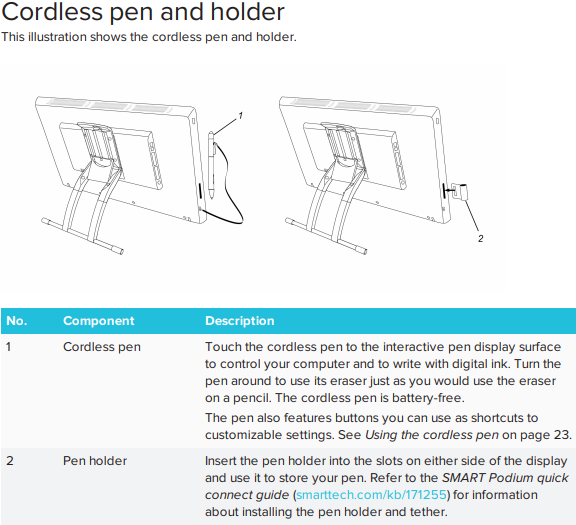
- SMART pen is wireless but is attached via a lanyard to the side of the board. Does not require batteries.
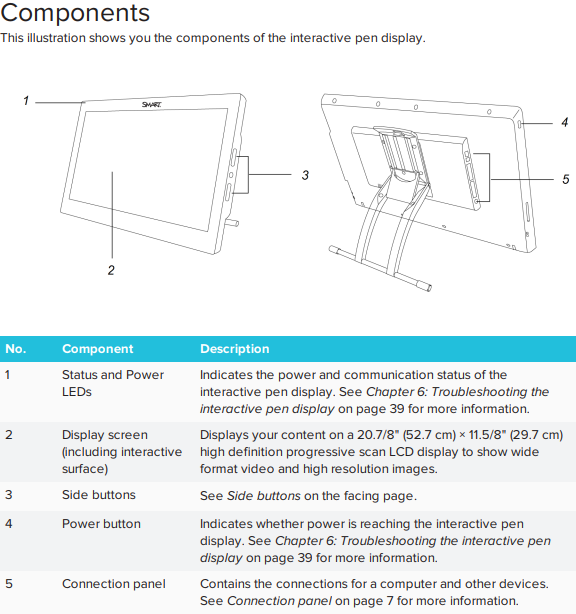
- Power button is located on the upper-left-side of the board on the bezel.
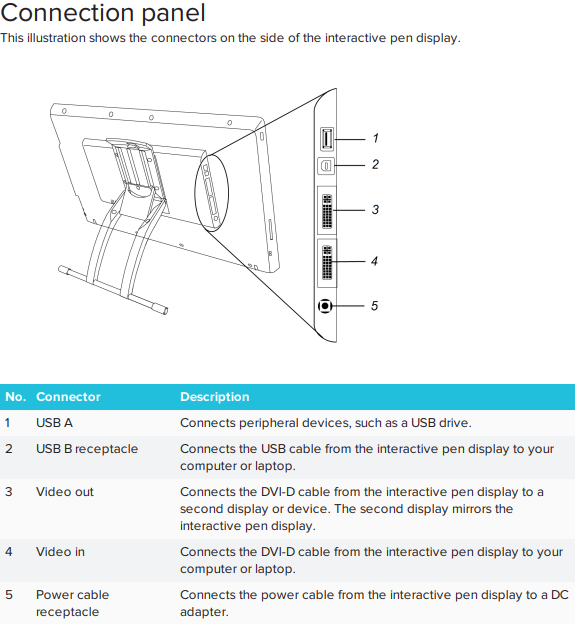
- DVI display ports and one USB connector are located under the monitor near the mount on left hand side.
- Two buttons that are for pen-size customization are located near the middle of the pen
- Includes a built-in cooling fan
- On-screen display menu can be opened by clicking the center button at the right-hand side bezel of the board.
- Includes finger-touch capability.
| - Buttons are located at the top of the screen. Includes an eraser button.
- SMART Pen is attached via a 3.5mm jack (similar to an audio jack). Does not require batteries.
- Power button located at the bottom-left of the board.
- DVI display ports and two USB connectors are located on the left side of the SMART Board near the mount.
- There are no buttons on the SMART pen.
- Does not include built-in cooling fan.
- On-screen display menu can be opened by clicking the menu button at the top of the board.
- Does not include finger-touch capability.
|