Geographic Information Science is a field that requires basic computer literacy. The goal of these pages is to help students who are interested in GIS to be certain that they have mastered skills that are necessary to their success in future GIS courses and beyond. One of the criteria for enrollment in GIS courses at the University of West Florida is viewing this material and providing evidence that you possess these minimum competencies through a written exam. This is a page in the Basic Computer Skills series. Here you will learn the following concepts:
How email works
Email is an important method of communicating in this day and age. It sends messages instantly from one person to another and can send large files that would otherwise need to be mailed or delivered in person. As a student of UWF, you now have a student email address. This is how the university, your professors, and your peers will primarily communicate with you during your time here. You should use your student email for all university and class related communications rather than your personal one.
An email address contains two parts. A user name and an email provider.
abc123@students.uwf.edu
The user name is your unique identifier. At UWF, this is typically your first two or three initials followed by 1-3 randomly generated numbers. The email provider is who is providing the email service. You are probably used to seeing providers such as Gmail, Hotmail, or yahoo. The UWF email system is supported by Google's Gmail.
It is important when sending an email to make sure you get the address completely correct. If you send an email abc123@student.uwf.edu (forgetting the s at the end of students), it won't send. Gmail will be able to help you through by being able to autofill most UWF email addresses from it's internal directory. You still have to be careful though. There might be two people with the same name. If that happens, make sure to verify the address of the person you are emailing to make sure your message gets to where it needs to go.
If you would like to learn more about how to navigate in Gmail, view Google's Help or view GCF Learn Free's Gmail tutorial.
Write and send email messages
Sending an email
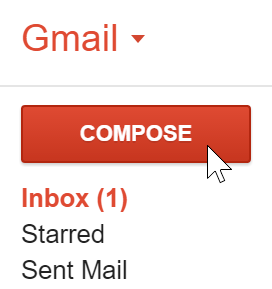
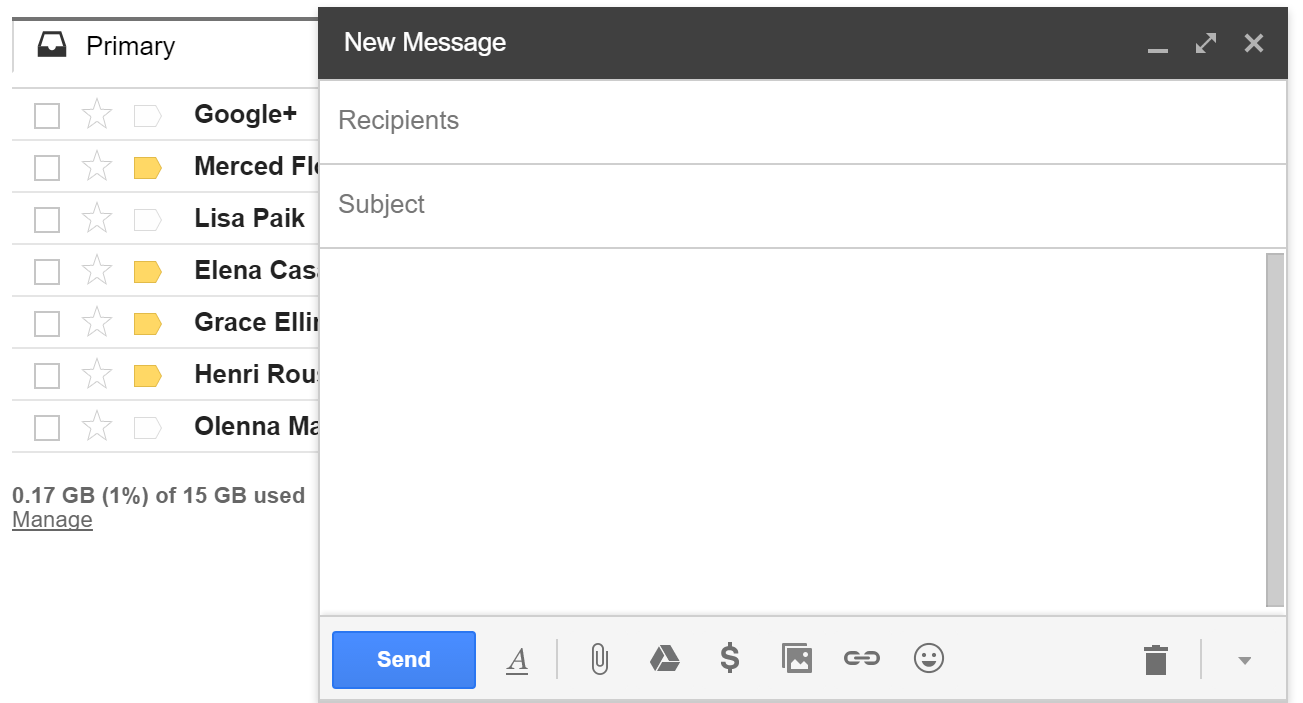
When you want to write a new email, you start by clicking the compose button on the left side of the screen. This opens a new compose window in the bottom corner of your window. Here, you add the recipients, the subject, the body, and any attachments. When you are done writing, hit send.
Attachments
Many times you will need to attach a file to an email. In Gmail, there are two ways to do this. First is to attach via the paper clip icon in the compose window. This opens up a file browser where you navigate to where the file is saved on your computer to attach it. The second method is to attach a Google Drive file. Make sure that your Google drive file is correctly shared though. If it isn't, you should get a warning with an option to change sharing permission when you hit send, but it's always good to verify first. Also, if you have very large files that you attempt to attach via the paperclip, Gmail will automatically upload it to Google Drive and attach it that way. Finally, it's always good to give your recipient a heads up that you've attached something and what it is.
When you get an attachment, the email will show up in the inbox with a paperclip next to it. Many attached files can be viewed in the browser window. You also have the option to download files or open them with Google Drive. Only open files from trusted sources. If you don't know the sender or why someone is sending an attachment, it is safest not to open it.
Replying to an email
Any new email you receive will go to your inbox. Unread emails will appear to be bold and you can see the name of the sender, the subject, and the first couple of words. When you are ready to read an email, click it and the email will open. Clicking the down arrow next to 'me' will give you more details about the email. You can use arrows on the right side to navigate though emails. When you are ready to go back to your inbox, just click inbox.
In Gmail, replying to an email is extremely easy. You just click in the response box and begin typing. You also can choose exactly how you want to respond.
- Reply or forward: Open the email and in the box under it choose to Reply, Reply to all, or Forward.
- Respond inline: to see the previous email within your reply, scroll down and click the show trimmed content, symbolized as ...
- Respond to an earlier email in the thread: Select the email you want to reply to then click the down arrow to choose how to reply.
- Forward an entire conversation: In the menu bar above the conversation, click more>Forward all.
You can also add or remove recipients and edit the subject line. When your done composing your reply, hit send.
Adding a signature
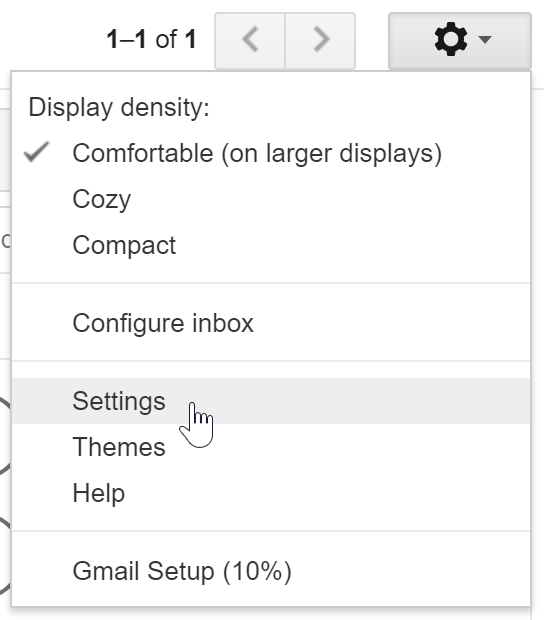
Many times you will see that people have added signatures to their email. These often contain a person's name, contact details, and their position title. Sometimes they contain a quote or image. If you would like to create your own signature, select the gear icon in the top right, select settings. Scroll until you see the signature section. There you can type your desired signature and add any formatting you want. Be sure to save changes. Remember that an email signature will be seen by everyone who gets an email from you (and everyone they forward that email to), so make sure it is professional and does not contain anything too personal.
Manage email messages
Over time your inbox will start to get cluttered with email. While you won't run out of space, it can be helpful to group similar email messages, filter email, and archive or discard old or unneeded email.
Archive and Delete
If you want to delete a message, click the delete button. You can check several email to delete them all at once, or delete from the message screen. Deleted email are sent to the trash folder and purged after 30 days. The delete icon looks like a trashcan.
Gmail comes with lots of storage, so no need to delete email in an attempt to save space. Instead, it is recommended that you archive email. Archiving removed the email from your inbox, but the email stays in your account so that you can find it later if needed. To archive an email, select it or open it and click the archive button. The archive button looks like a down arrow inside a box.
Spam and other unwanted messages
If a spam or other unwanted message makes its way into your inbox, don't hit the delete button. Instead, choose to Report spam. This will remove the email from your inbox and help Gmail better identify these messages in the future.

Labels
Labels let you organize your messages, making them easier to find. Labeling is similar to putting emails into a folder, except you can apply more than one label to an email. If you got an email from your Into to GIS instructor, you could label it as Intro GIS and Instructor communication.
There are three main steps to creating and applying labels.
- Create a label:
- Select the Gear in the top right and select Settings.
- Click the label tab.
- Scroll to labels section and click create new label.
- Enter the label name and click create.
- Tag one or more messages with a label:
- Select the messages you want to apply a label to.
- Click the Labels button. It looks like a tag.
- Check the labels you want to add to a message and click apply.
- Add color to a label:
- In the Labels list on the left, over your mouse on the label and click the down arrow.
- Hover over label color and choose a color.
- To remove a label color, hover over label color and click remove color.
Filter and Search
You can also filter messages, which will automatically perform actions such as labeling and deleting. Filters can go by sender, recipient, subject, or specific words.
To create a filter, open an email message that is similar to the emails you want to filter. Choose the more actions button then choose to Filter messages like these. In the box that appears, enter your search criteria and then click Create filter with this search. In the next screen, check the actions you want to happen with this filter. Then click Create Filter.
If you want to edit or delete filters, click the gear icon and go to Settings. Go to Filter and Blocked Addresses. There you can edit and delete filters.
The search mail option lets you search for one or more keywords that appear anywhere in the email. At the top of the Gmail screen, type what you're looking for in the search box. As you type, Google will suggest terms based on your email, contacts, labels, or past searches. By clicking the down arrow in the search bar, you can narrow your options with an advanced search.

Identify correct email etiquette
Communicating online can be difficult. Most communication occurs through what we write, and it's easy for someone to misinterpret what you write without the audio and visual cues that occur during normal face to face conversation. Nettiquite needs to be practiced not only in your email communication, but on the discussion boards as well. A good rule of thumb is to not send or post anything when you are angry or upset. Following these tips will help you avoid common errors.
- Just as with letter writing, it is polite to begin an email with a greeting such as “Dear Sue” and end with a closing line, such as “Thanks,” followed by your name.
- Include a clear subject line that indicated what the email is about.
- Avoid sarcasm in your emails. Without tone and body language to convey what you mean, your words could be misinterpreted.
- Do not use profanity.
- Check to make sure you are replying to who you mean to, the original sender, or everyone who was CC’d on the email.
- Spell check your emails and make sure you have the correct email address.
- Don’t write IN ALL CAPS. Online, this is equivalent to shouting.
- Ignore chain emails. Many are hoaxes and annoying to recipients.
- Be sure to mention when you’ve attached something to an email and be aware of large files that may download slowly. ZIP up files or upload to Google Drive to make sharing easier. Share files with common extensions like .pdf or .png instead of files for specific programs like .pages (Mac word document editor) or .psd (Photoshop file).
- Avoid sending sensitive information such as credit card numbers, passwords, and social security numbers. If an email seems suspicious, delete it. If you think you might have clicked on a phishing link, close the window and notify ITS immediately. Sometimes these phishing links can grab your contact list and send out more links that look as if they come from you.

Phishing and Scams
Unfortunately, some people do not use email in a safe and legal way. Sometimes you may get emails searching for your personal information. A common trick used by scammers is to create a fake version of the UWF log in page designed to capture and steal your UWF username and password; therefore, it is critical that you avoid clicking links from suspicious emails. If you believe you have provided information to a scammer, immediately change your ArgoNet password using the My Account app in MyUWF.
To learn more about protecting yourself on the internet, view GCF Learn Free's Internet Safety tutorial.
Identifying Phishing Email Scams
Phishing is a type of email scam where the sender attempts to trick you into divulging personal information such as usernames, passwords, date of birth, or SSN. The high volume of fraudulent email messages makes it impractical for the ITS Help Desk to alert campus of every new scam, so it is your responsibility to learn how to identify and react to phishing emails.
Tips to Identify Phishing Scams
- No legitimate institution will request your password via email.
- Be cautious of unexpected requests for personal information. Ask yourself, is this information that they should already have? Why do they need this information?
- Be skeptical of emails from a generic sender, such as “UWF team.”
- Look for misspellings and poor grammar. Legitimate business email is typically professional and polished.
- Beware of links to websites. A favorite phishing technique is to create a phony website that looks like the real website of the organization they are pretending to be. For example, you may be sent to a website that looks exactly like your bank’s website, but is actually run by criminals waiting for you to enter your personal information.
- Does anything just not feel right? If you have any doubts regarding legitimacy, contact the institution to confirm. Do not use the contact information provided in the email or website, as it may also be phony. Instead, find the organization’s website or contact information using a search engine.
If You Receive a Phishing Email
If you receive a phishing email, use the "Report Phishing" button found in Gmail. If you need help determining the legitimacy of an email or website, call or email the ITS Help Desk.
If you responded to a phishing scam, it is important to act quickly. If you provided a password, account number, or PIN number, immediately notify the organization that manages the account. In the case of your UWF password, contact the ITS Help Desk at 474-2075 or helpdesk@uwf.edu.
Continue to next module of training: Basic Computer Ethics
Updated: