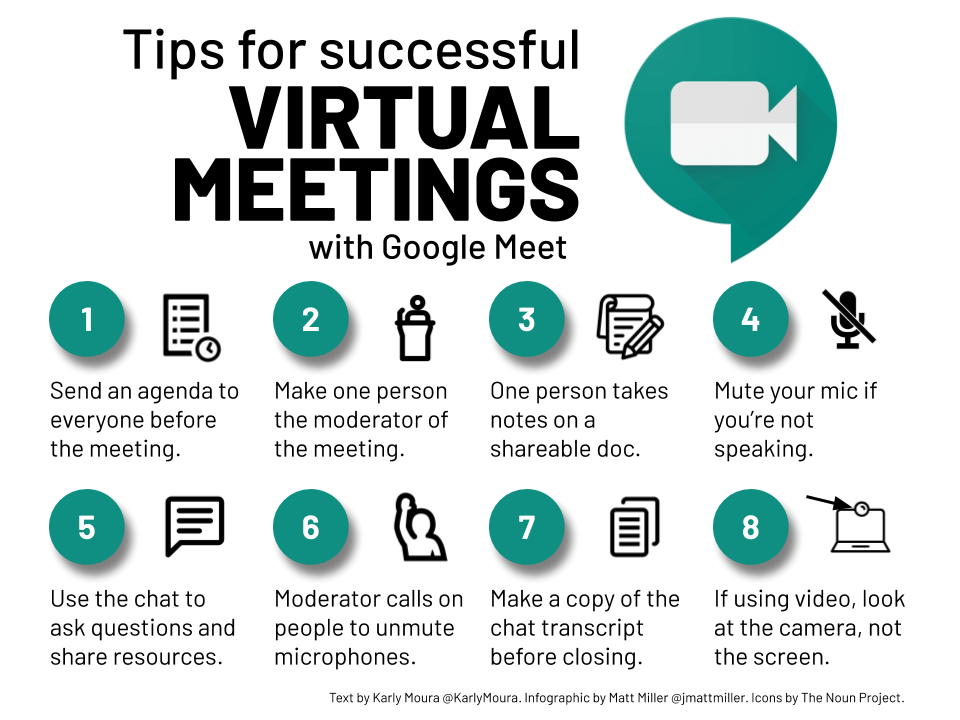
It is important to set up meeting times for the group to exchange ideas and define expectations for the group. There are online meeting tools within Canvas and outside of Canvas that you can use to conduct meetings with groups member and/or external partners.
Canvas Conferences
Canvas Conferences is accessible via your Canvas Group site. This tool only allows you to meet with fellow group members. The Conferences page allows you to view all the conferences within a course. As a student, you can join conferences where you have been invited to participate. In student groups, you can create new conferences, start conferences, and manage concluded conferences. Learn more about Canvas Conferences.
Google Meet
Google Meet is available for those with Gmail accounts. If you have a Gmail account, you can create meetings for others to join.
1. Go to meet.google.com.
Click "Join or start a meeting." Click "continue" to start a new meeting. (You can also add Google Meet calls to calendar meetings in Google Calendar. Under "Add conferencing" choose Google Meet.)
2. Start your meeting.
Before you join, you can a) grab the link to share with your peers and b) get a phone number they can call to join with just audio. When you're ready to start the call, c) click "join now".
3. Engage in your meeting.
Once you're in the meeting, you have lots of options:
- The people tab. See who is in your call and take actions. (More below.)
- The chat box. Send quick messages to each other.
- Present your screen. If you want to do a screen share to show participants something, this is what you use.
- Record meeting. If you want to record the call to watch later, click this.
TIP: This is a G Suite Enterprise feature. If you're using your school account before September 30, 2020, and you don't see this option -- but want it -- ask your Google admin to turn it on. - Change the layout. You can arrange the way you see everyone in a call.
> Sidebar shows one person bigger and everyone else smaller along the side.
> Spotlight lets you pick one person to be seen full-screen by everyone.
> Tiled lets you see lots of people all the same size on one screen. - Full screen. This lets you make your video chat full screen on YOUR device.
- Turn on captions. This enables live captions, which transcribe your conversation into text captions in real time.
- Settings. Use this button to pick which camera and microphone you'll use as well as the resolution.
TIP: To make it easier for students with slow Internet connections, change the send and receive resolutions in the video tab to standard definition 360p. - Use a phone for audio. This lets you and your students use a phone to hear the call instead of a device on the Internet. Have Google Meet call you OR display a phone number you can use to call in.
- Turn your video off. This is helpful if your Internet -- or your students' Internet -- is slow.
- Hang up. Use this when you want to leave the call.
TIP: If you have given your Google Meet call a nickname, no one will be able to rejoin your call if you're the last one to leave. - Mute your microphone. This just mutes YOUR microphone.
- Meeting details. This displays all the info you'd need to give someone to join the call. If you created your meeting through Google Calendar and added attachments, they show up here.
- Menu. To display 4-9 in the list above, click this button.
