...
| Expand | ||
|---|---|---|
| ||
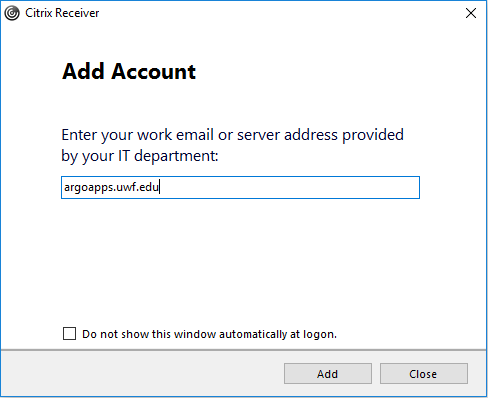
You no longer need to visit my.uwf.edu to access your favorite apps. Simply launch the Citrix Receiver app from your own computer! |


...
| Expand | |||||
|---|---|---|---|---|---|
| |||||
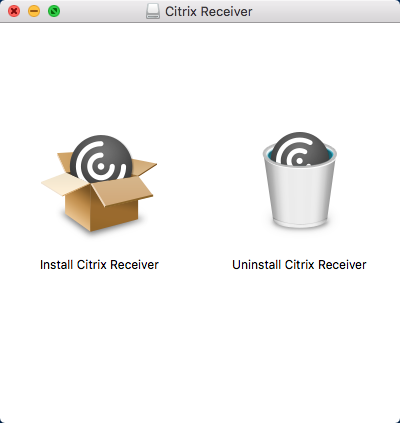
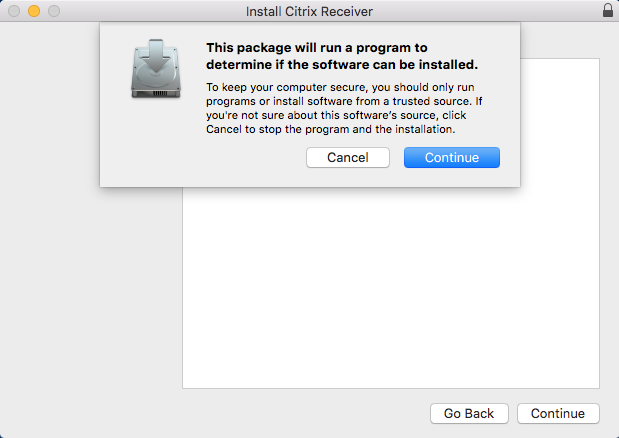
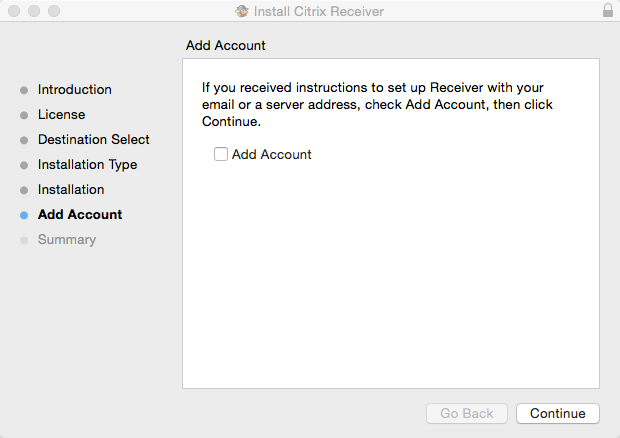
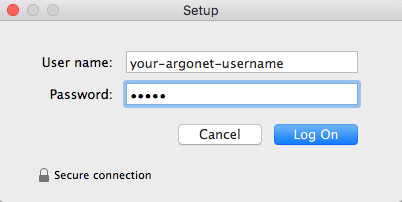
Congratulations, you should now be able to use the Citrix Receiver on your Mac to access ArgoApps. You no longer need to visit my.uwf.edu to access your favorite apps. Simply launch the Citrix Receiver app from your own computer! |


...