SMART 500 and 600 Series Comparison
| SMART 624 (600 series) | SMART SP518/SP524 Image (500 series) |
|---|
 Image Modified Image Modified
| 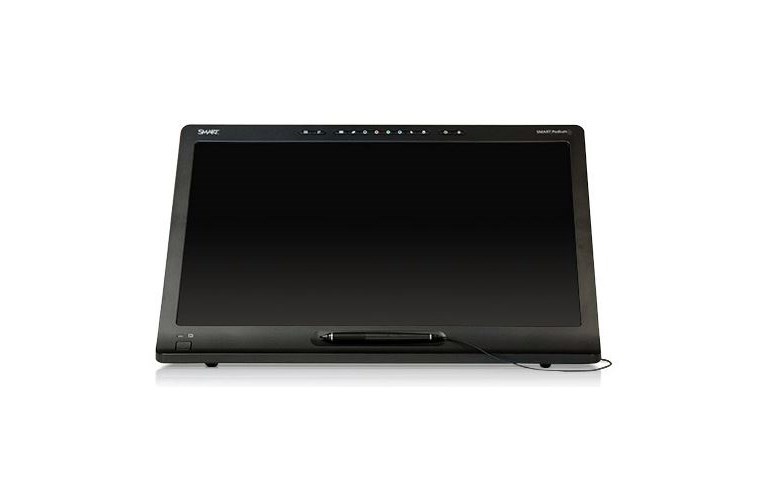 Image Modified Image Modified |
Key Differences
| SMART 600 Series | SMART 500 Series |
|---|
- Buttons are located at the right-hand side of the screen. Does not include eraser button. Eraser is used by turning the SMART pen upside down or selecting the eraser function in SMART Notebook.
- SMART pen is wireless but is attached via a lanyard to the side of the board. Does not require batteries.
- Power button is located on the upper-left-side of the board on the bezel.
- DVI display ports and one USB connector are located under the monitor near the mount on left hand side.
- Two buttons that are for pen-size customization are located near the middle of the pen
- Includes a built-in cooling fan
- On-screen display menu can be opened by clicking the center button at the right-hand side bezel of the board.
- Includes finger-touch capability.
| - Buttons are located at the top of the screen. Includes an eraser button.
- SMART Pen is attached via a 3.5mm jack (similar to an audio jack). Does not require batteries.
- Power button located at the bottom-left of the board.
- DVI display ports and two USB connectors are located on the left side of the SMART Board near the mount.
- There are no buttons on the SMART pen.
- Does not include built-in cooling fan.
- On-screen display menu can be opened by clicking the menu button at the top of the board.
- Does not include finger-touch capability.
|
SMART 600 Series - Component Placement Overview
This information was taken from the official user guide for the 600 series SMART boards.
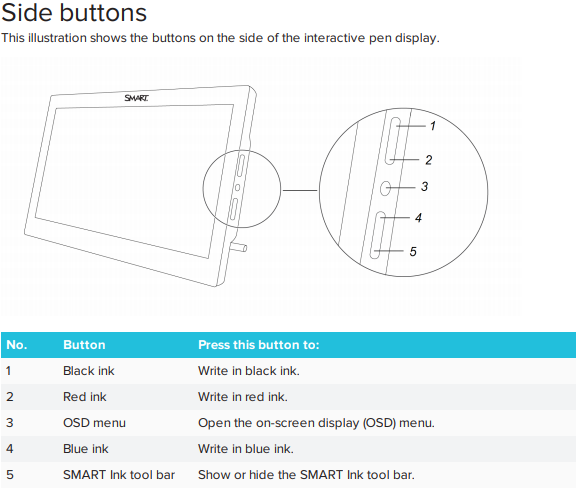 Image Modified
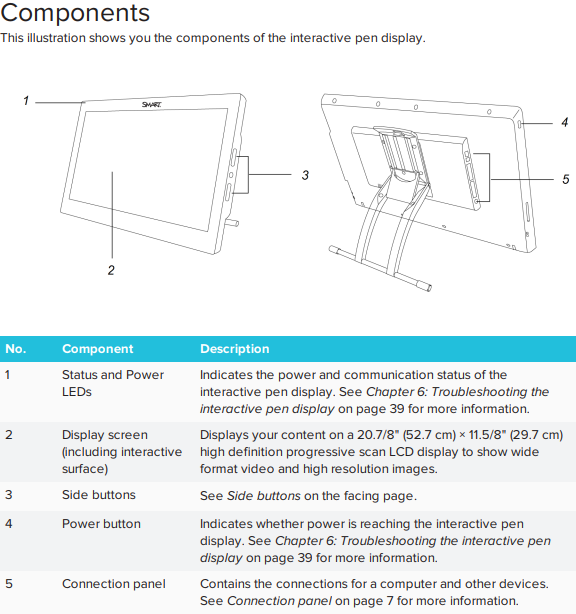 Image Modified
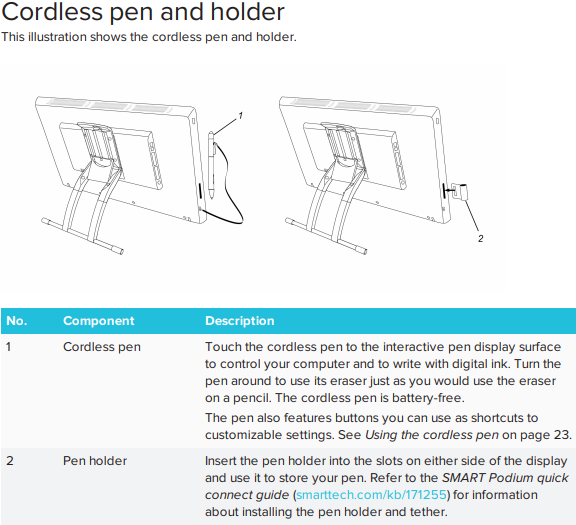 Image Modified
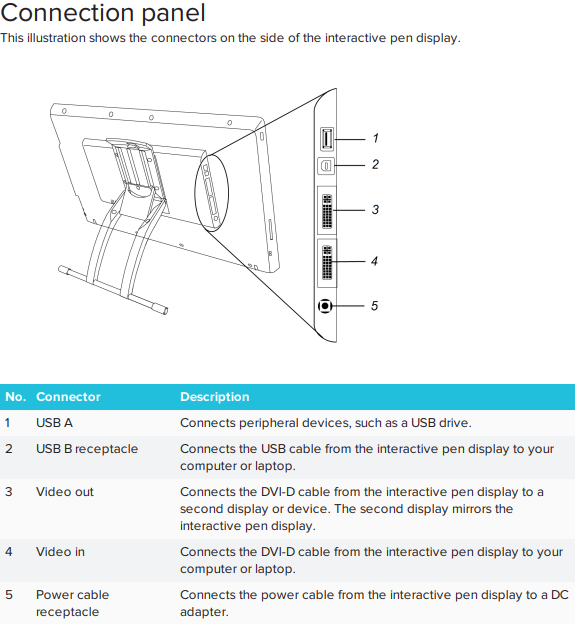 Image Modified
Basic Usage Guide
 Image Modified
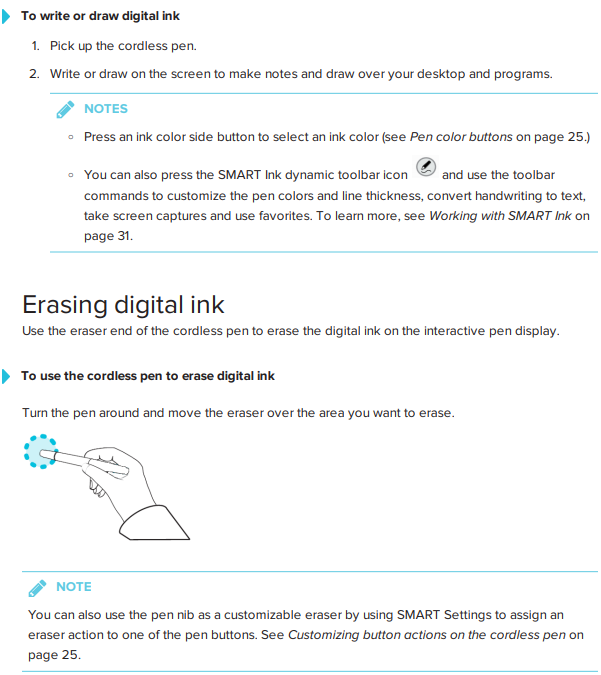 Image Modified
 Image Modified
 Image Modified
Additional Resources
| View file |
|---|
| name | sp624usersguide_23may2018.pdf |
|---|
| height | 250 |
|---|
|