Overview
MyUWF gives you the ability to add apps. people, departments and other search results to your Favorites list. You can also create additional custom lists and add items to these as well. This procedure details the use of Favorites and other lists in MyUWF.
The "Favorites" List
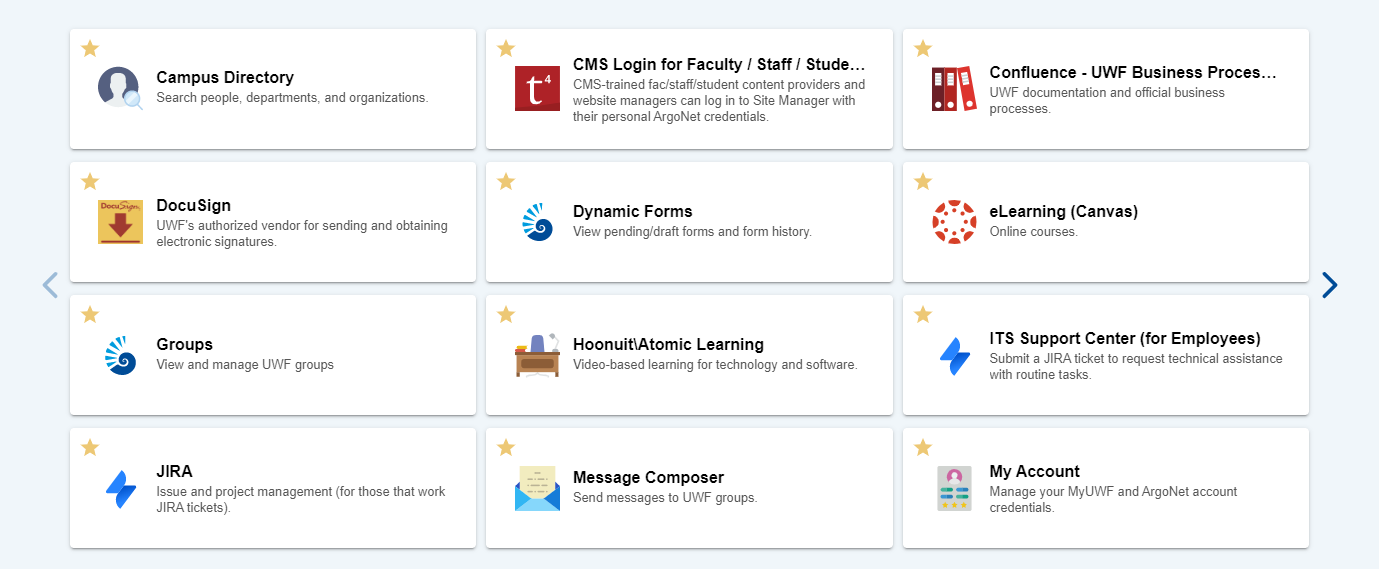
- The Favorites list is included by default the first time you log into MyUWF. If you have previously favorited apps in MyUWF, they will carry over here.
- In card view, the default setting allows for 4 rows of favorites. This can be edited with the gear icon next to the name of the list.
- To scroll through your favorites, use the arrows on either side of the Favorites pane. On mobile devices and touchscreens, these can be moved by swiping through the options.
Adding/Removing Items from an Existing List
When you search for an app, a person, a department, or any other item in the search bar, you can choose to add it to one of your lists. In this example, we'll use the Favorites list since it already exists for all users in MyUWF
Step 1
Search for and find the result you're looking for. Here I searched for "Art" and want to add the first result, the Art department, to my favorites.
Click the star in the top left:

Step 2
This will open up a small window that asks you which list(s) you'd like to add/remove the item from. Check the checkbox next to each list you'd like to add the item to. In this case, I only have one list called Favorites, so I will add it to that one.
Make sure you click the Save button when you're done.

Step 3
The item will now be added/removed from your Favorites. The list in the screenshot is being sorted alphabetically, so the "Art" item appears first, but see the "Sorting and Managing Your Lists" section below to learn how to customize your sorting.

Creating a New List
Though Favorites is included by default, you can also create additional lists to add items to. Let's say you want to create a list of items related to your classes for this semester: eLearning, My Classes, Course Search.
Step 1
Search for the item you would like to add to your new list. We will create the actual list in the next step. For now, let's search for eLearning (Canvas) and add it by clicking the star in the top left.
Step 2
When you click the star, a window will pop up. Instead of clicking "Favorites" or any other existing list, click the Add a List button at the top and enter a name for the list.

Step 3
Come up with a name for the list and click Create. I'll call this one "Class Things."

Step 4
This will add it to the lists you can choose on the screen. To finish adding the eLearning (Canvas) item to the list, check the box next to "Class Things" and click Save.

Step 5
A new list called "Class Things" has now been created with the eLearning (Canvas) item in it:

Sorting and Managing Your Lists
You can choose to order your lists, including "Favorites," alphabetically or customize their sorting. If you have more than one list, you can also move the lists up and down on your screen.
Sorting Your Lists
Let's say instead of sorting your Favorites list alphabetically, you want to move some other items to the top.
Step 1
Click the gear next to the name of the list.

Step 2
By default, lists are sorted alphabetically. Click the button next to "Use custom sort order" to turn on custom sorting.
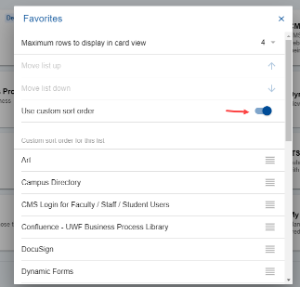
Step 3
Click and drag the lined icons on the sides of each item to change its place. For example, I can drag the My Account app all the way to the top to have it appear first in the list.
You don't need to save or confirm your re-ordering; the item should instantly move to the front of the list.

Note
If you turn the "Use custom sort order" setting off after custom-sorting a list, it will re-alphabetize the list and reset the sort order.
Moving a List Up or Down
You can move a list up or down on the screen. For example, let's say you have a list called "Class Things" and you want to move it to the top above Favorites.
Step 1
Click the gear next to the name of the list.
Step 2
Click the "Move list up" or "Move list down" functions depending on where you'd like the list to go. This will move the list up one space at a time.

Note
- If you can't move a list up or down, the corresponding option will be greyed out.
- You can't move a custom list below the "For You" section.
Delete a List
You may want to remove a list if you don't need it anymore. Note that removing a list doesn't remove your access to any of the apps or items within it. It just removes the "shortcut" you create for it.
Step 1
Click the gear next to the name of the list.

Step 2
Click "Delete List" and confirm your choice.
Note
- A list must have at least one item in it for the gear button to show up, so a list must have at least one item in order to be deleted.
- The Favorites list cannot be deleted.