Overview
Here you will find instructions on how students should search for available course offerings for a specific semester (courses available for registration for that semester). If you are not a UWF student or faculty, please use the public course option found on our website at http://uwf.edu/offices/registrar/.Schedule Planner
To assist with Spring 2015 registration, UWF is piloting a program called "Schedule Planner";
For assistance with organizing your schedule, you may also use one or both of the scheduled organization tools below.
Instructions
Step 1: Search for, then select the Registration Menu app in MyUWF.
Step 2: Choose the Student tab, then select the Registration link.

Step 3: Click the Look Up Classes link.

Step 4: Select the term for which you would like to look up courses.
- Click Submit.

Step 5: To search only by subject, choose a subject, then click Course Search.
- To select all subjects, choose the first subject available, hold down the Shift button on your keyboard, scroll to the bottom of the subject list, and click the last subject listed. All courses should now be highlighted.
- To select multiple subjects, hold the Control key while clciking the Subjects you wish to search by.
- To perform a more specific search, select the Advanced Search button, and go to Step 6.

- All available courses with the chosen subject prefix will appear.

- To see available sections of a specific course, click the View Sections button.

Step 6: Enter the search criteria you desire, then click the Section Search button.
- The more information entered, the more specific the search, and fewer options will be returned.
- To select all subjects, choose the first subject available, hold down the Shift button on your keyboard, scroll to the bottom of the subject list, and click the last subject listed. All courses should now be highlighted.
- To select multiple subjects, hold the Control key while clciking the Subjects you wish to search by.
- Example: To search by subject and course number, select/enter just that information.

- All available courses and sections will then appear.
If a section of the course is available for registration, the check box in the Select column will be available. You can also see the number of seats remaining in a course in the "Rem" column.
The following codes may also appear in the "Select" column:
C = Closed Class (The class is closed.)
NR = Not Allowed for Registration (Registration has not opened yet for this course.)
SR = Student Restriction (Your registration Time Ticket is not open, you have Holds, you are an Inactive student, you are Suspended.)
- To register (assuming you meet all criteria for registration- please see Student Registration Checklist), check the box of the appropriate section and click Register.
- To add the course to your registration worksheet (You will not immediately be added to the course, but the Course Reference Number (CRN) will be added to the worksheet. You can add additional CRN's to the worksheet and add multiple courses at the same time.), check the box in the Select column for the appropriate section, then click "Add to Worksheet".

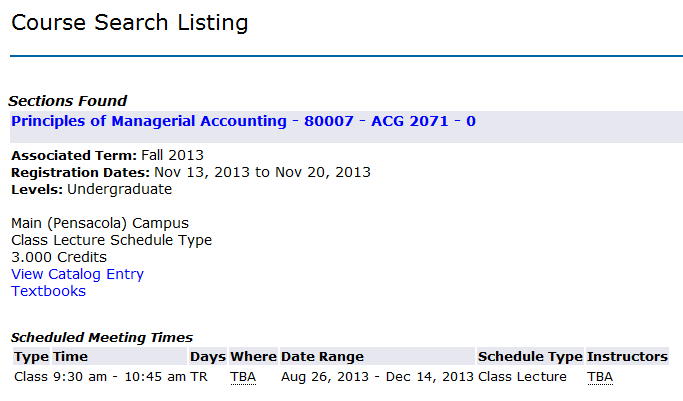
Step 7: If you click on the blue 5 digit CRN number you will be redirected to the Course Search Listing page.
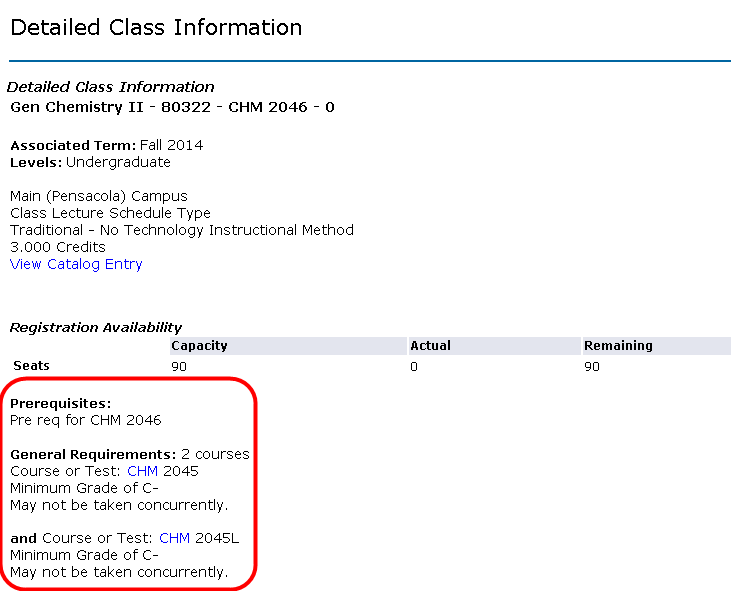
Step 8: If you click the blue Course title, you will be redirected to the Detail Course Listing page. Any course prerequisites, restrictions, or corequisites will be listed on this page.
FAQs
This is the answer.
Previous/Next Steps