...
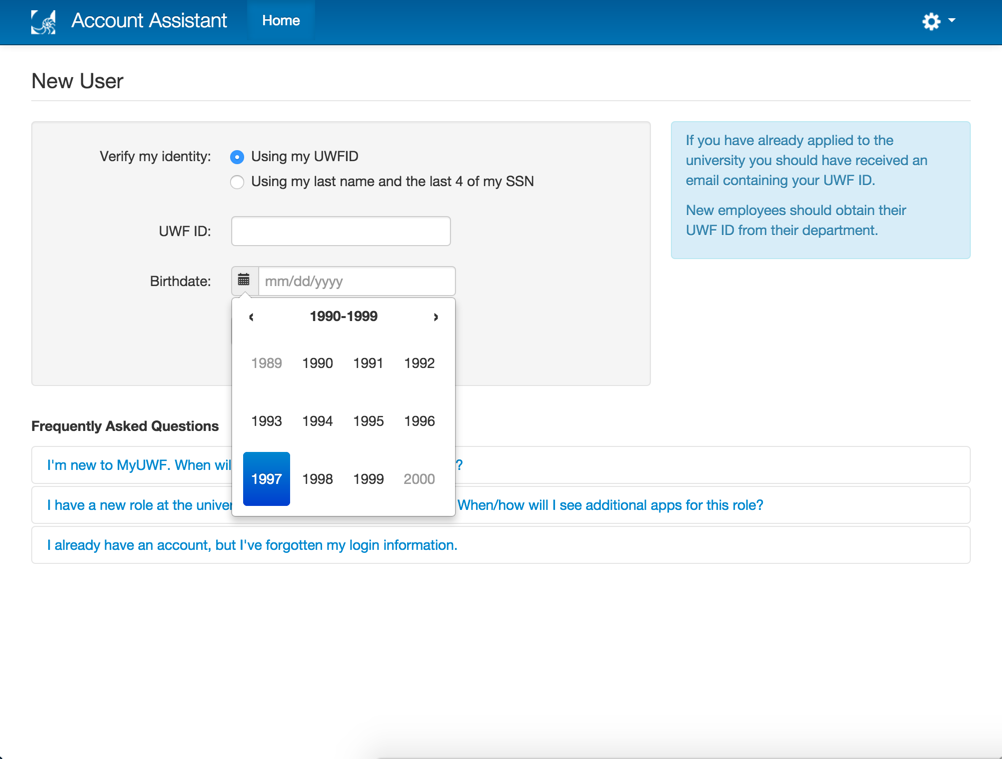
To minimize issues with formatting your birth date, use the calendar tool to the left of the birth date field.
Step 3
...
Choose three different security questions and provide an answer for each.
Your answers are not case sensitive. Please be aware that all other formatting (spacing, special characters, spelling, etc.) must match exactly if you are prompted to answer your security questions in the future.
You may only use the 'Enter your own question' option once.
...
(Steps 3, 4, & 5 will only apply to students, applicants, and alumni. Faculty and Staff may continue to Step
...
6)
Provide an external (non-UWF) email address in both fields and press the 'Next' button.
...
After pressing the 'Next' button, a verification email will be sent to your external email address.
Step
...
4
Navigate to the inbox of the non-UWF email account that you provided, and click the link within the verification email to continue the account activation process.
The link within this email is only active for 4 hours. If you click the link after this time period, you will receive an external email verification error.
Step
...
5
After your external email address has been confirmed, click the 'Next' button to continue and choose a new password.
...
If you receive the same email verification error after clearing your cache and restarting the activation process, please call the ITS Help Desk (850.474.2075) during our business hours. Please be sure to be on your personal network and in front of a personally owned Windows or Mac computer when you call.
Step
...
6
Select either 'Use a randomly generated system password', 'Generate a new password', or 'Create my own password'.
...
Click the 'Next' button to continue.

Step
...
7
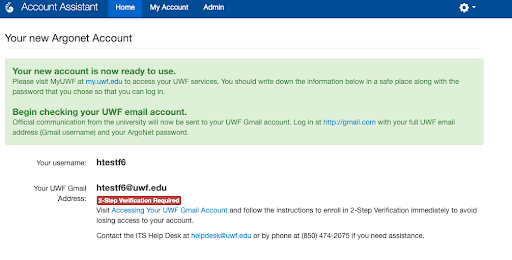
You will be directed to the following screen. Please do not close this screen as your new username will be presented to you shortly.
Step
...
8
Go to my.uwf.edu, click 'Log in', type in your new username and password, and click 'Log In'.
...