Overview
| Excerpt |
|---|
Whether you are a new student, returning student, faculty member, staff member, or alumni, you need to activate your MyUWF account prior to accessing MyUWF. |
Instructions
| Warning |
|---|
Your official UWF email address is issued to you for the purposes of facilitating your business with the University, and is not a personal address. Do not use it for such things as signing on to personal cloud services, paying bills or anything that would require access to the account after you are no longer a student or employee. |
Step 1
Click the 'Activate your account' app on the MyUWF home page.
Step 2
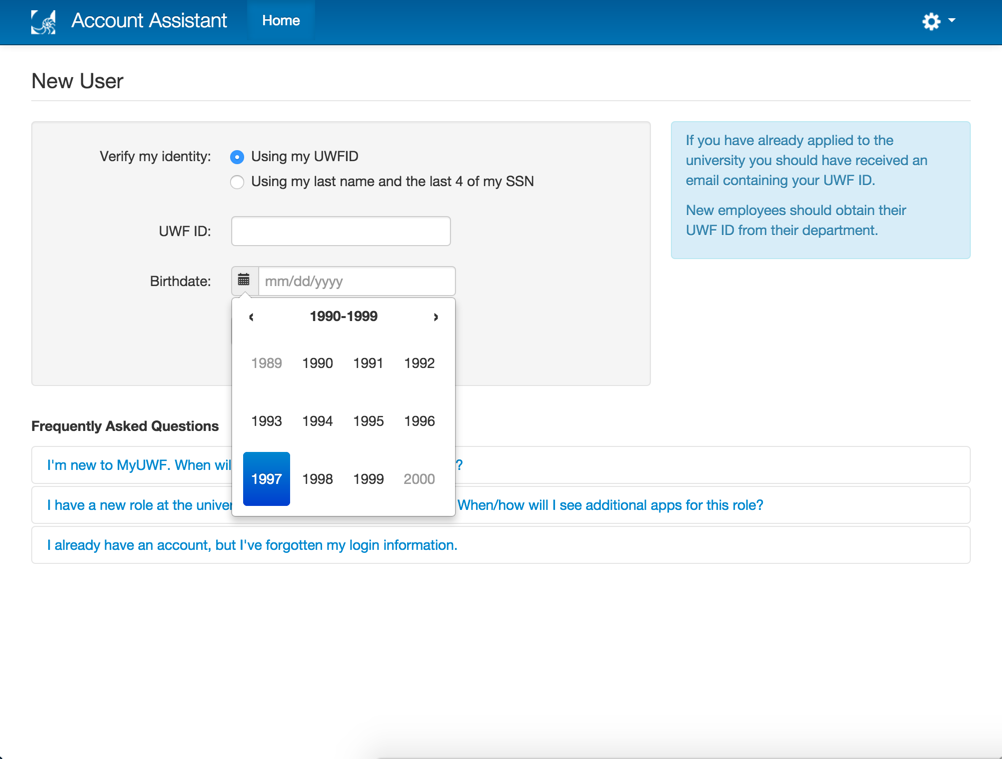
Choose one of the two options to verify your identity.
...
To minimize issues with formatting your birth date, utilize the calendar tool to the left of the birth date field.
Step 3
Select three different security questions and provide an answer for each.
...
You may only use the 'Enter your own question' option once.
Step 4 (Steps 4, 5, & 6 will only apply to students, applicants, and alumni. Faculty and Staff may continue to Step 7)
Provide an external (non-UWF) email address in both fields and press the 'Next' button.
...
After pressing the 'Next' button, a verification email will be sent to your external email address.
Step 5
Navigate to the inbox of the non-UWF email account that you provided, and click the link within the verification email to continue the account activation process.
The link within this email is only active for 4 hours. If you click the link after this time period, you will receive an external email verification error.
Step 6
After your external email address has been confirmed, click the 'Next' button to continue and choose a new password.
...
If you receive the same email verification error after completing the steps again, please contact the ITS Help Desk at (850) 474-2075.
Step 7
Select either 'Use a randomly generated system password' or 'Create my own password'.
...
Click the 'Next' button to continue.

Step 8
You will be directed to the following screen. Please do not close this screen as your new username will be presented to you shortly.
...