| Info |
|---|
Effective January 6th, 2025, multifactor authentication became a requirement to access Microsoft 365. Follow the instructions below to establish MFA on your UWF Microsoft account. |
- Using a web browser, navigate to MyUWF.
- In the search bar, type "Microsoft 365" and select Microsoft 365 for Education.
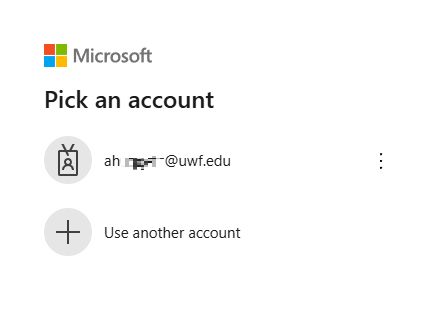
- You will be redirected to Microsoft's login page, shown below. Type in your full UWF email address and your ArgoNet password.
-
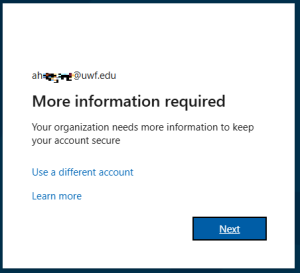
- If you haven't set up MFA for your Microsoft account, you will receive the prompt below:
- Select Next.
- You will then receive the prompt below:
- At this point you need to choose the MFA method you would like to use. Follow the instructions for the desired option.

MFA Options
Setup text or phone call.
Setup Microsoft Authenticator app.
Setup alternate authentication app.
Setup text or phone call
- To setup MFA using text messages or a call, select "I want to set up a different method" on the prompt below:
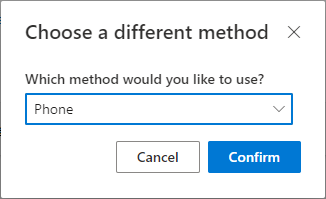
- You will then receive the prompt below:
- Select Phone, then Confirm.
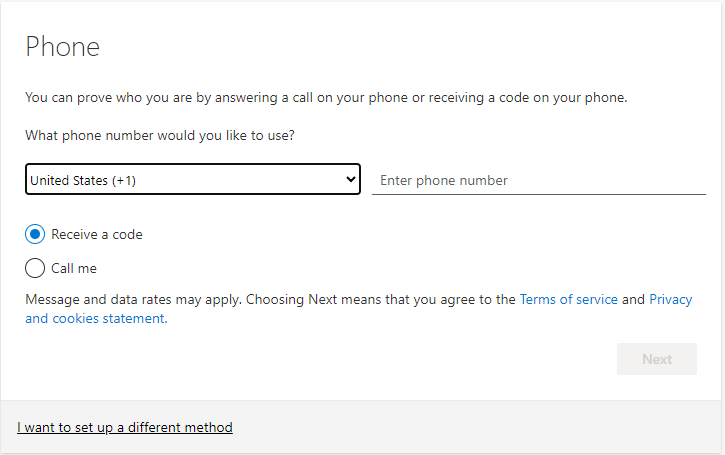
- You will then be prompted to enter your phone number. Enter it with no spaces, dashes, or parenthesis. Then select if you would like to receive the code via text or phone call. Select Next.
- You will then be prompted to enter the code that you received via call or text. Enter the code, then select Next.
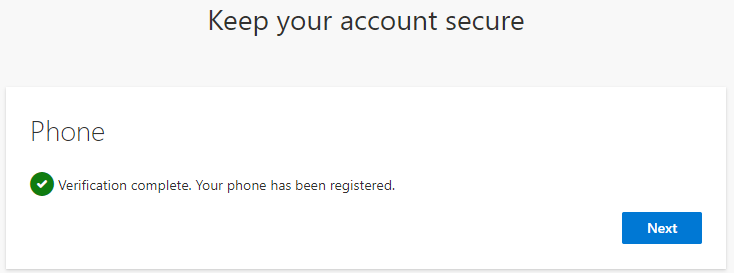
- You will then receive a prompt indicating your phone was registered.
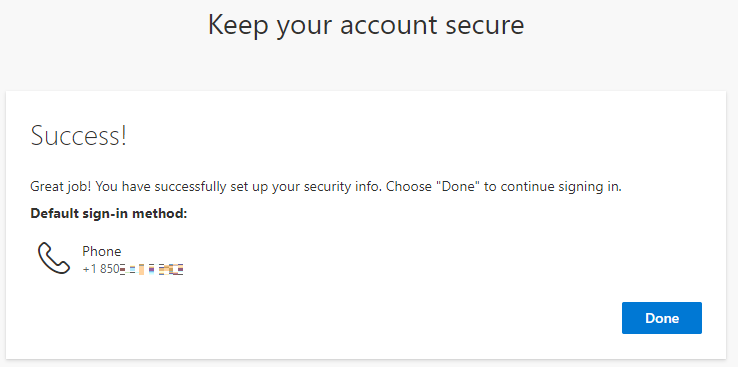
- Lastly, select Done on the final prompt. You will then be logged into Office.

Setup Microsoft Authenticator app
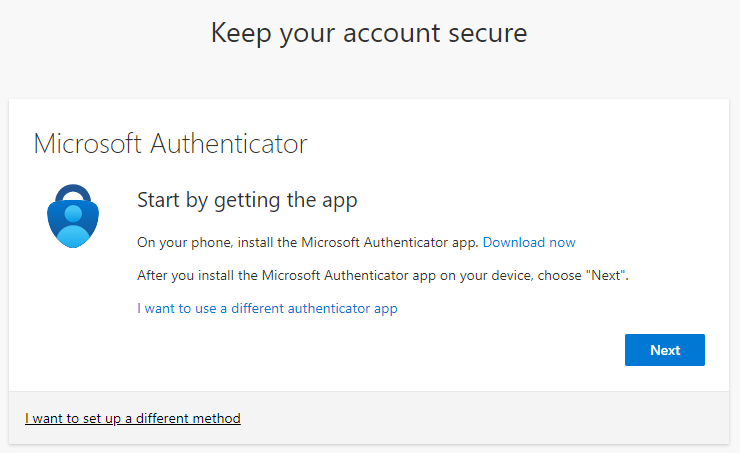
- To setup MFA using the Microsoft Authenticator app, you will first need to download it and install it on your phone.
- While at the prompt below, select Next.
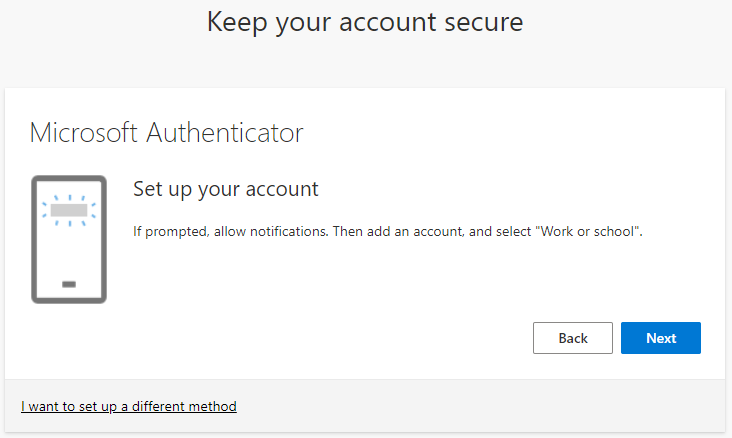
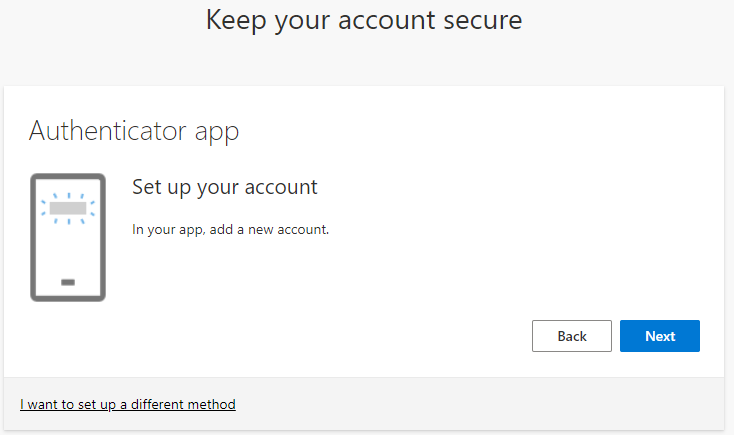
- Select Next again.
- Within the Authenticator app on your device, add an account, select Work or School, then select Scan a QR code.
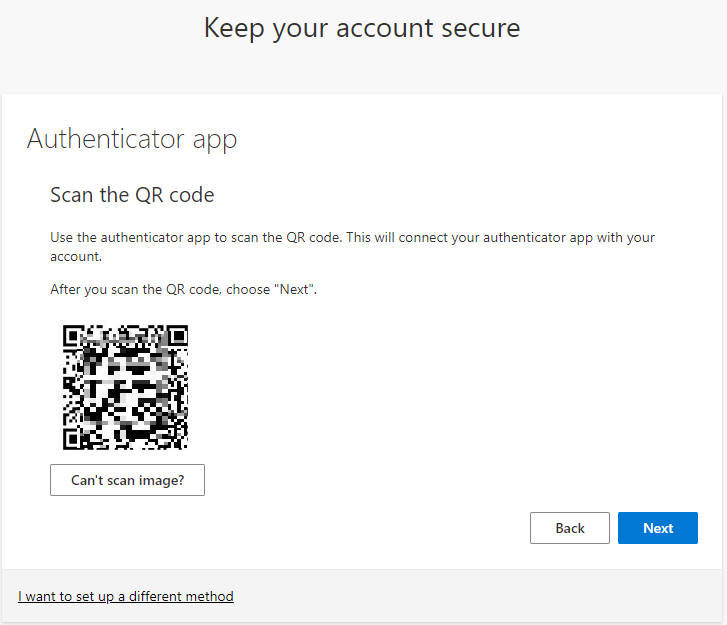
- The app will change similar to a camera, scan the QR code presented on the screen, then select next.
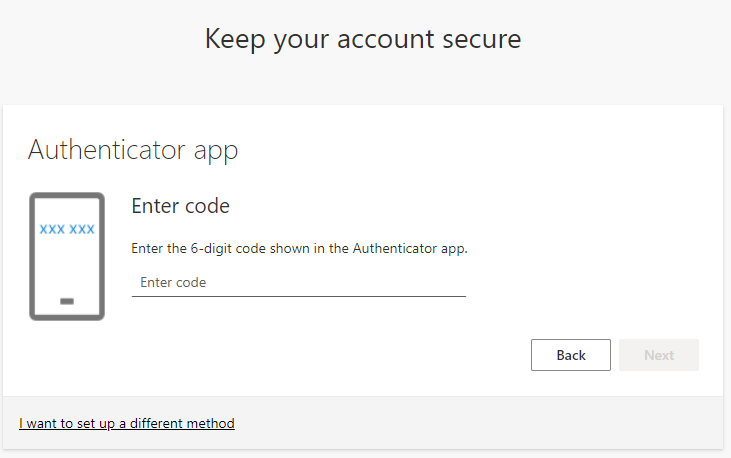
- You will then be presented with a short number on the screen of the device logging into Office. Type this number into the prompt within the app on your phone.
- Then select Next on the screen.
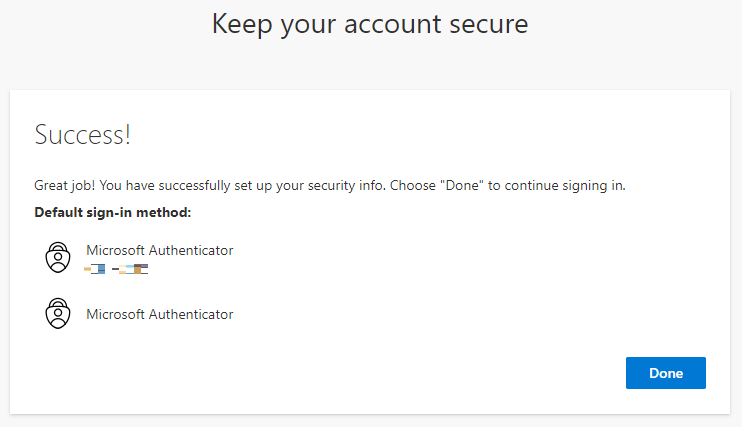
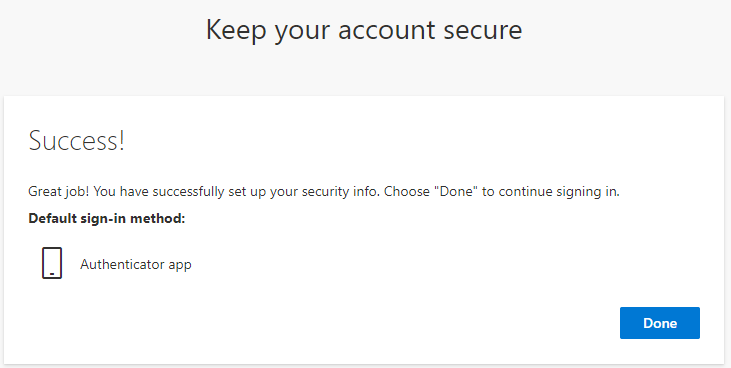
- Lastly, select Done on the prompt below. You will then be logged into Office.


Setup alternate MFA application
- To setup MFA using an authenticator app other than the Microsoft Authenticator app, you will first need to download and install the app of your choice to your phone.
- For the purposes of this example, Duo is used.
- While at the prompt below, select "I want to use a different authenticator app" in the middle section.
- You will receive the prompt below, select Next.
- Within the authenticator app of your choice on your phone, add an account and scan the QR code presented on the screen. Select Next once it is scanned.
- You will then be prompted to enter the code displayed within your authenticator app on your phone. Enter the code and select Next.
- You will then receive a prompt indicating the app has been registered. Select Done and you will be logged into Office.
| Table of Contents |
|---|