Connecting to ArgoAir
Step 1
From the Home Screen, navigate to the Settings icon.
Step 2
In the Settings menu, select the Wi-Fi option.
Step 3
In the Wi-Fi menu, make sure the switch next to Wi-Fi is turned on.
Step 4
Under Wi-Fi networks, select uwf-argo-air.
Step 5
Once uwf-argo-air is selected, a menu should be displayed. The proper configuration for each field is as follows:

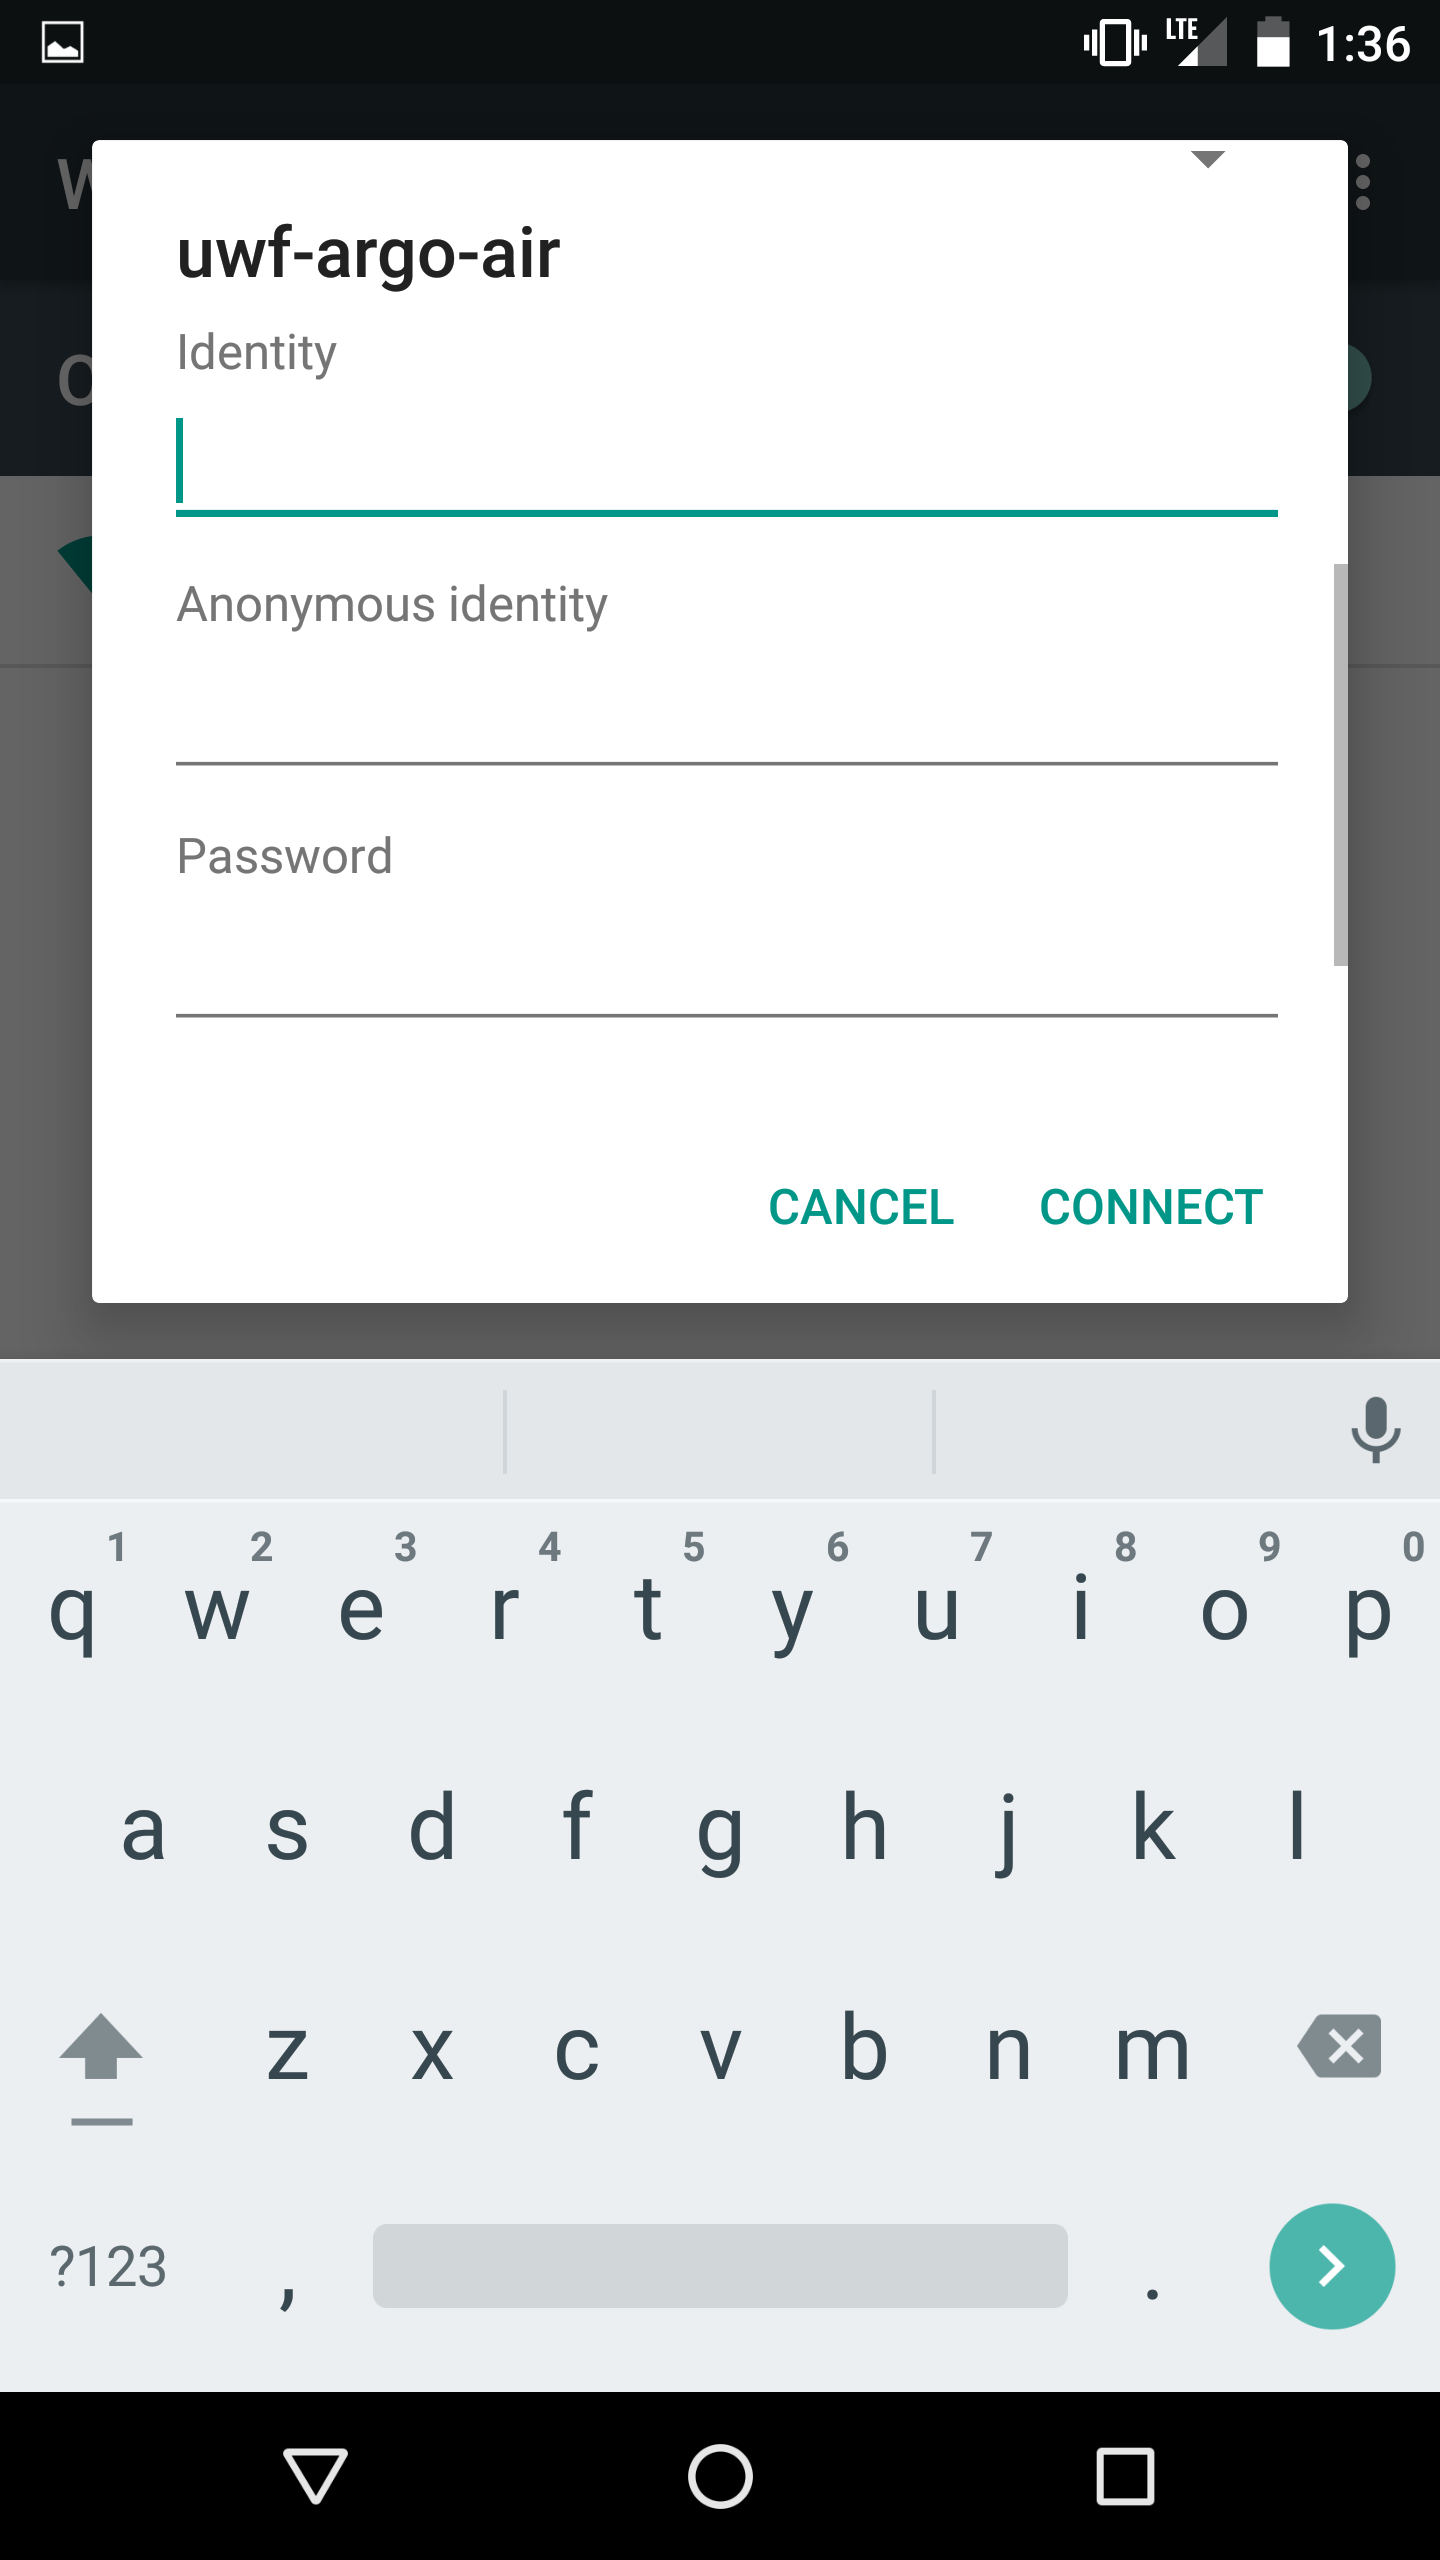
- The EAP method field should be set to PEAP.
- The Phase 2 authentication field should be set to MSCHAPV2.
- The CA certificate field should be set to Do not validate or (unspecified).
- For Android 11 and 12 users, your device may only allow the option Use system certificates and will then prompt you to enter a domain.
- The Domain field should be set as uwf.edu.

- The Domain field should be set as uwf.edu.
- For Android 11 and 12 users, your device may only allow the option Use system certificates and will then prompt you to enter a domain.
- The Identity field should be set as your ArgoNet username.
- The Anonymous identity field should remain blank.
- The Password field will be your ArgoNet password.
Step 6
Select the Connect option in the lower right-hand corner of the menu. The device will now connect to ArgoAir.
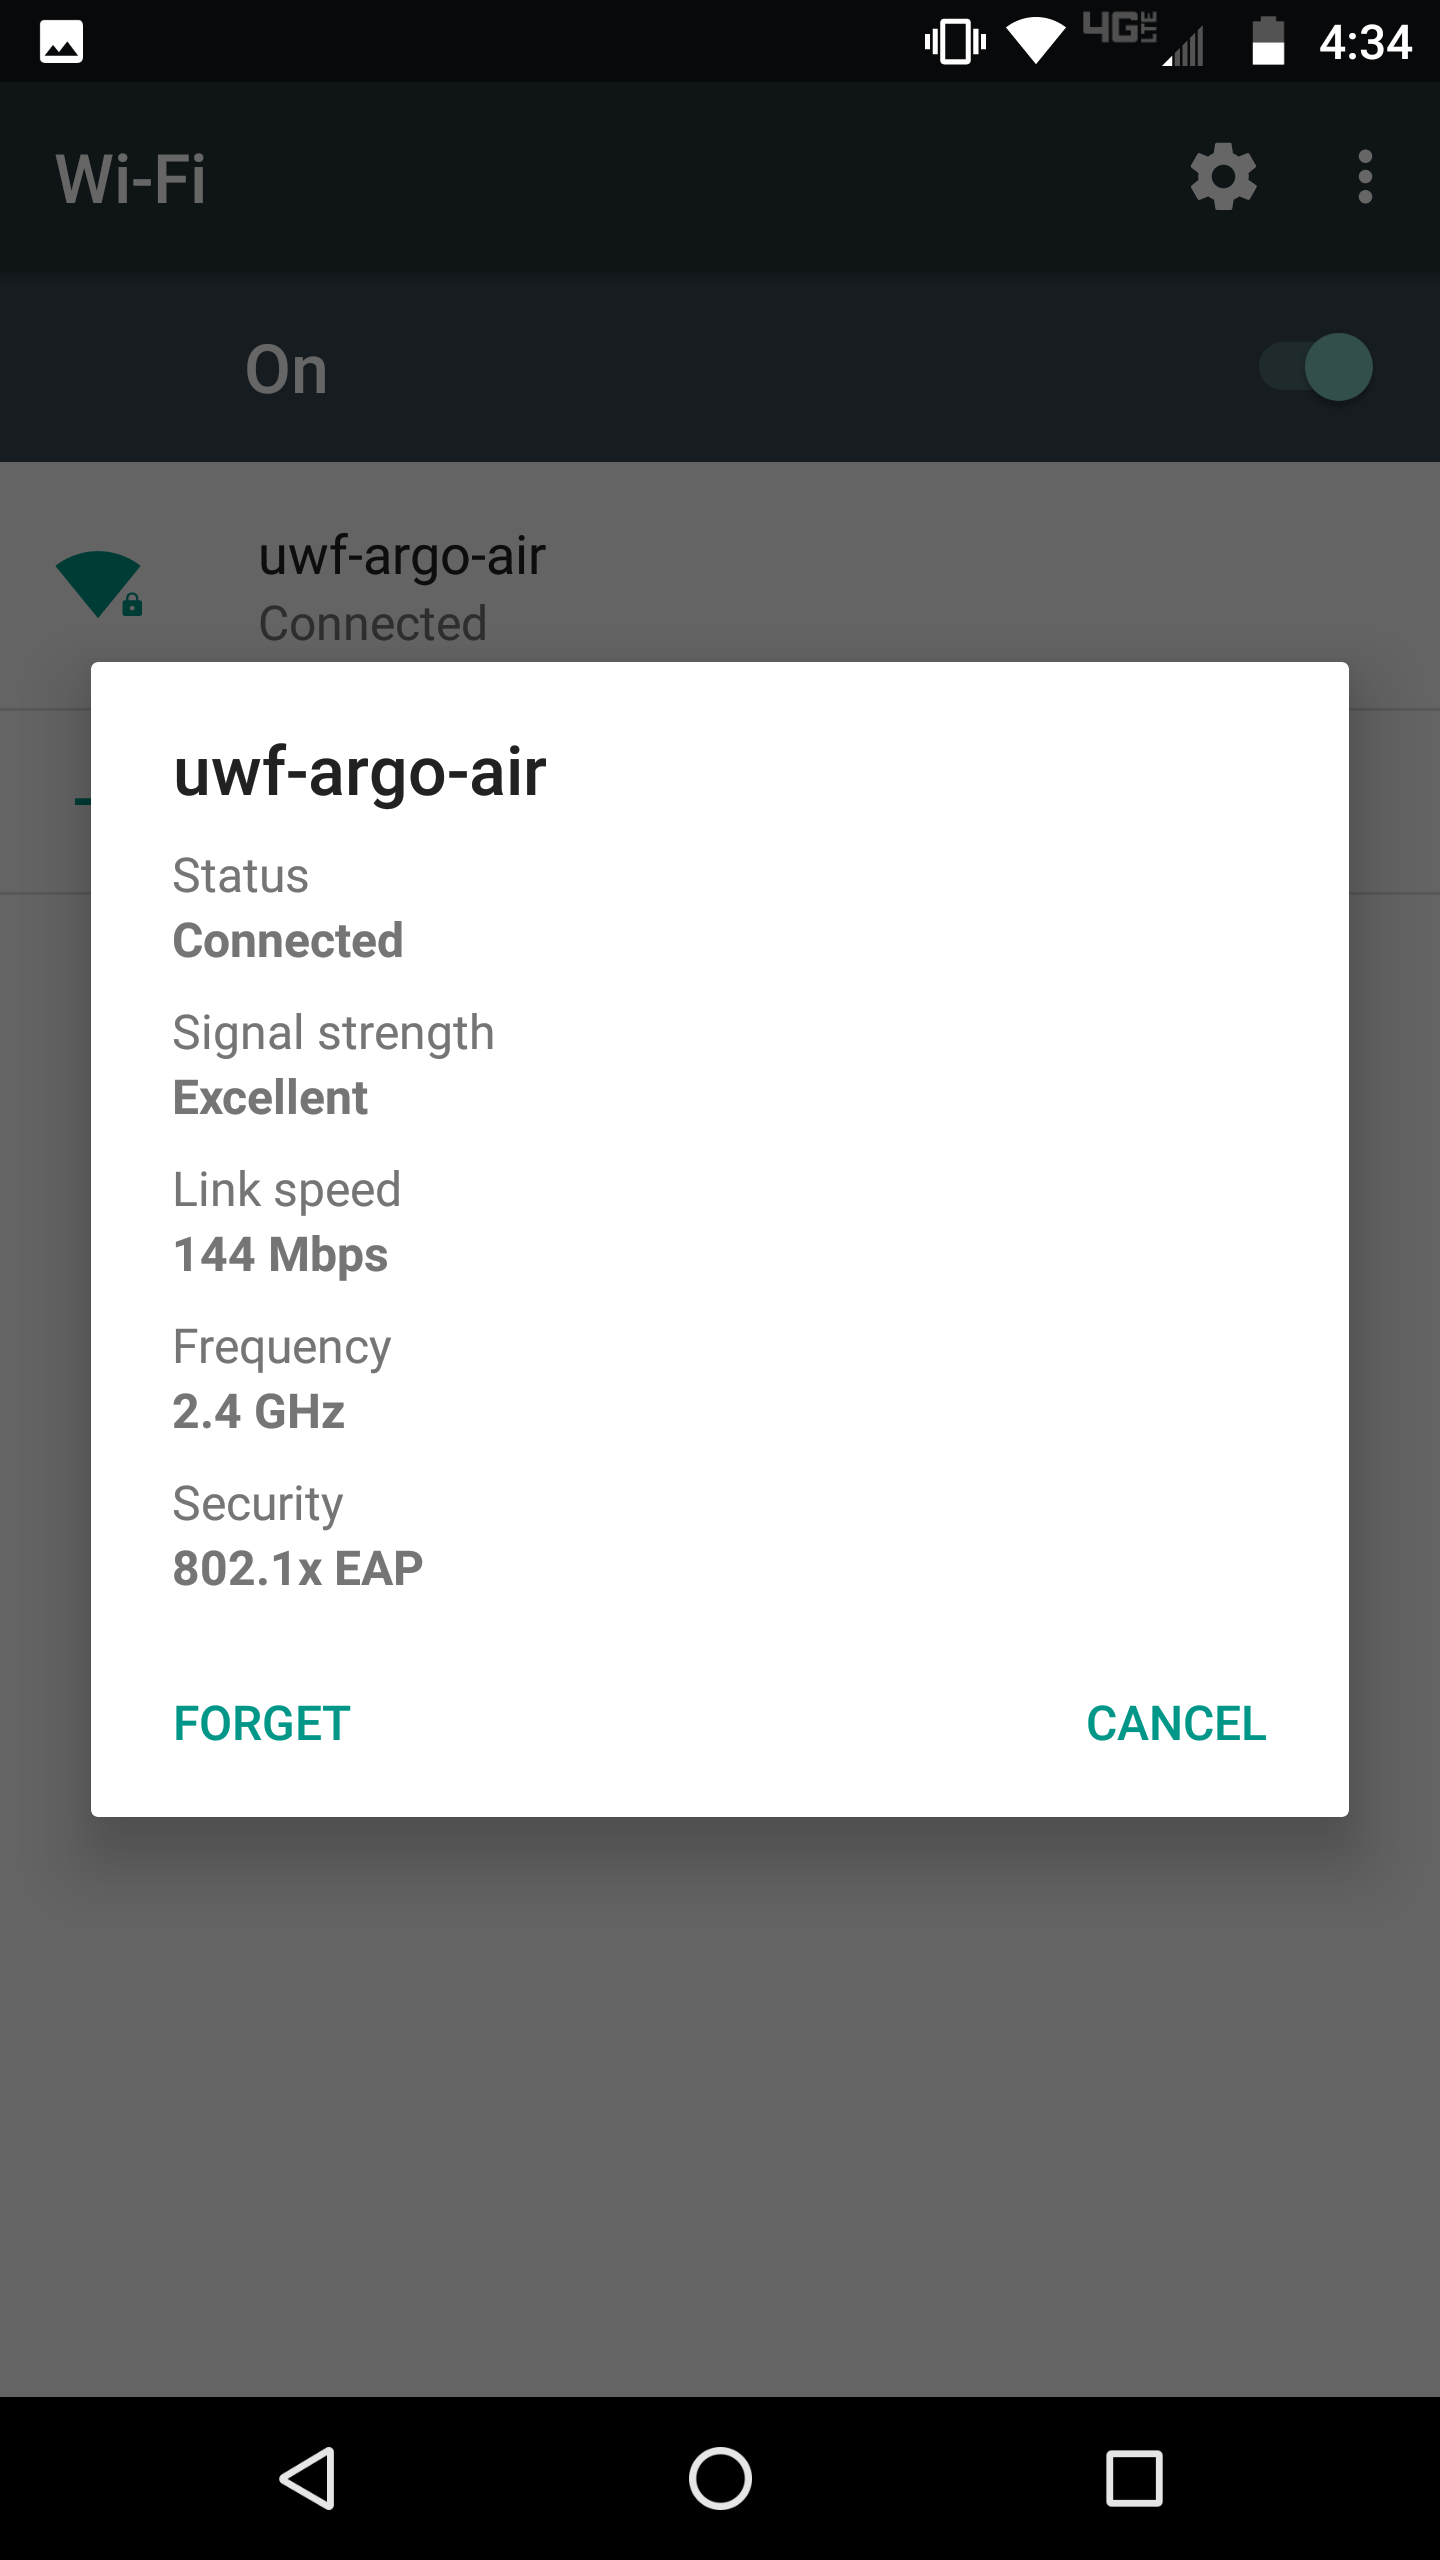
Forgetting the Network
When users change their passwords, they'll need to forget the network, to re-connect to ArgoAir.
Step 1
From the Home Screen, navigate to the Settings icon.
Step 2
In the Settings menu, select the Wi-Fi option.
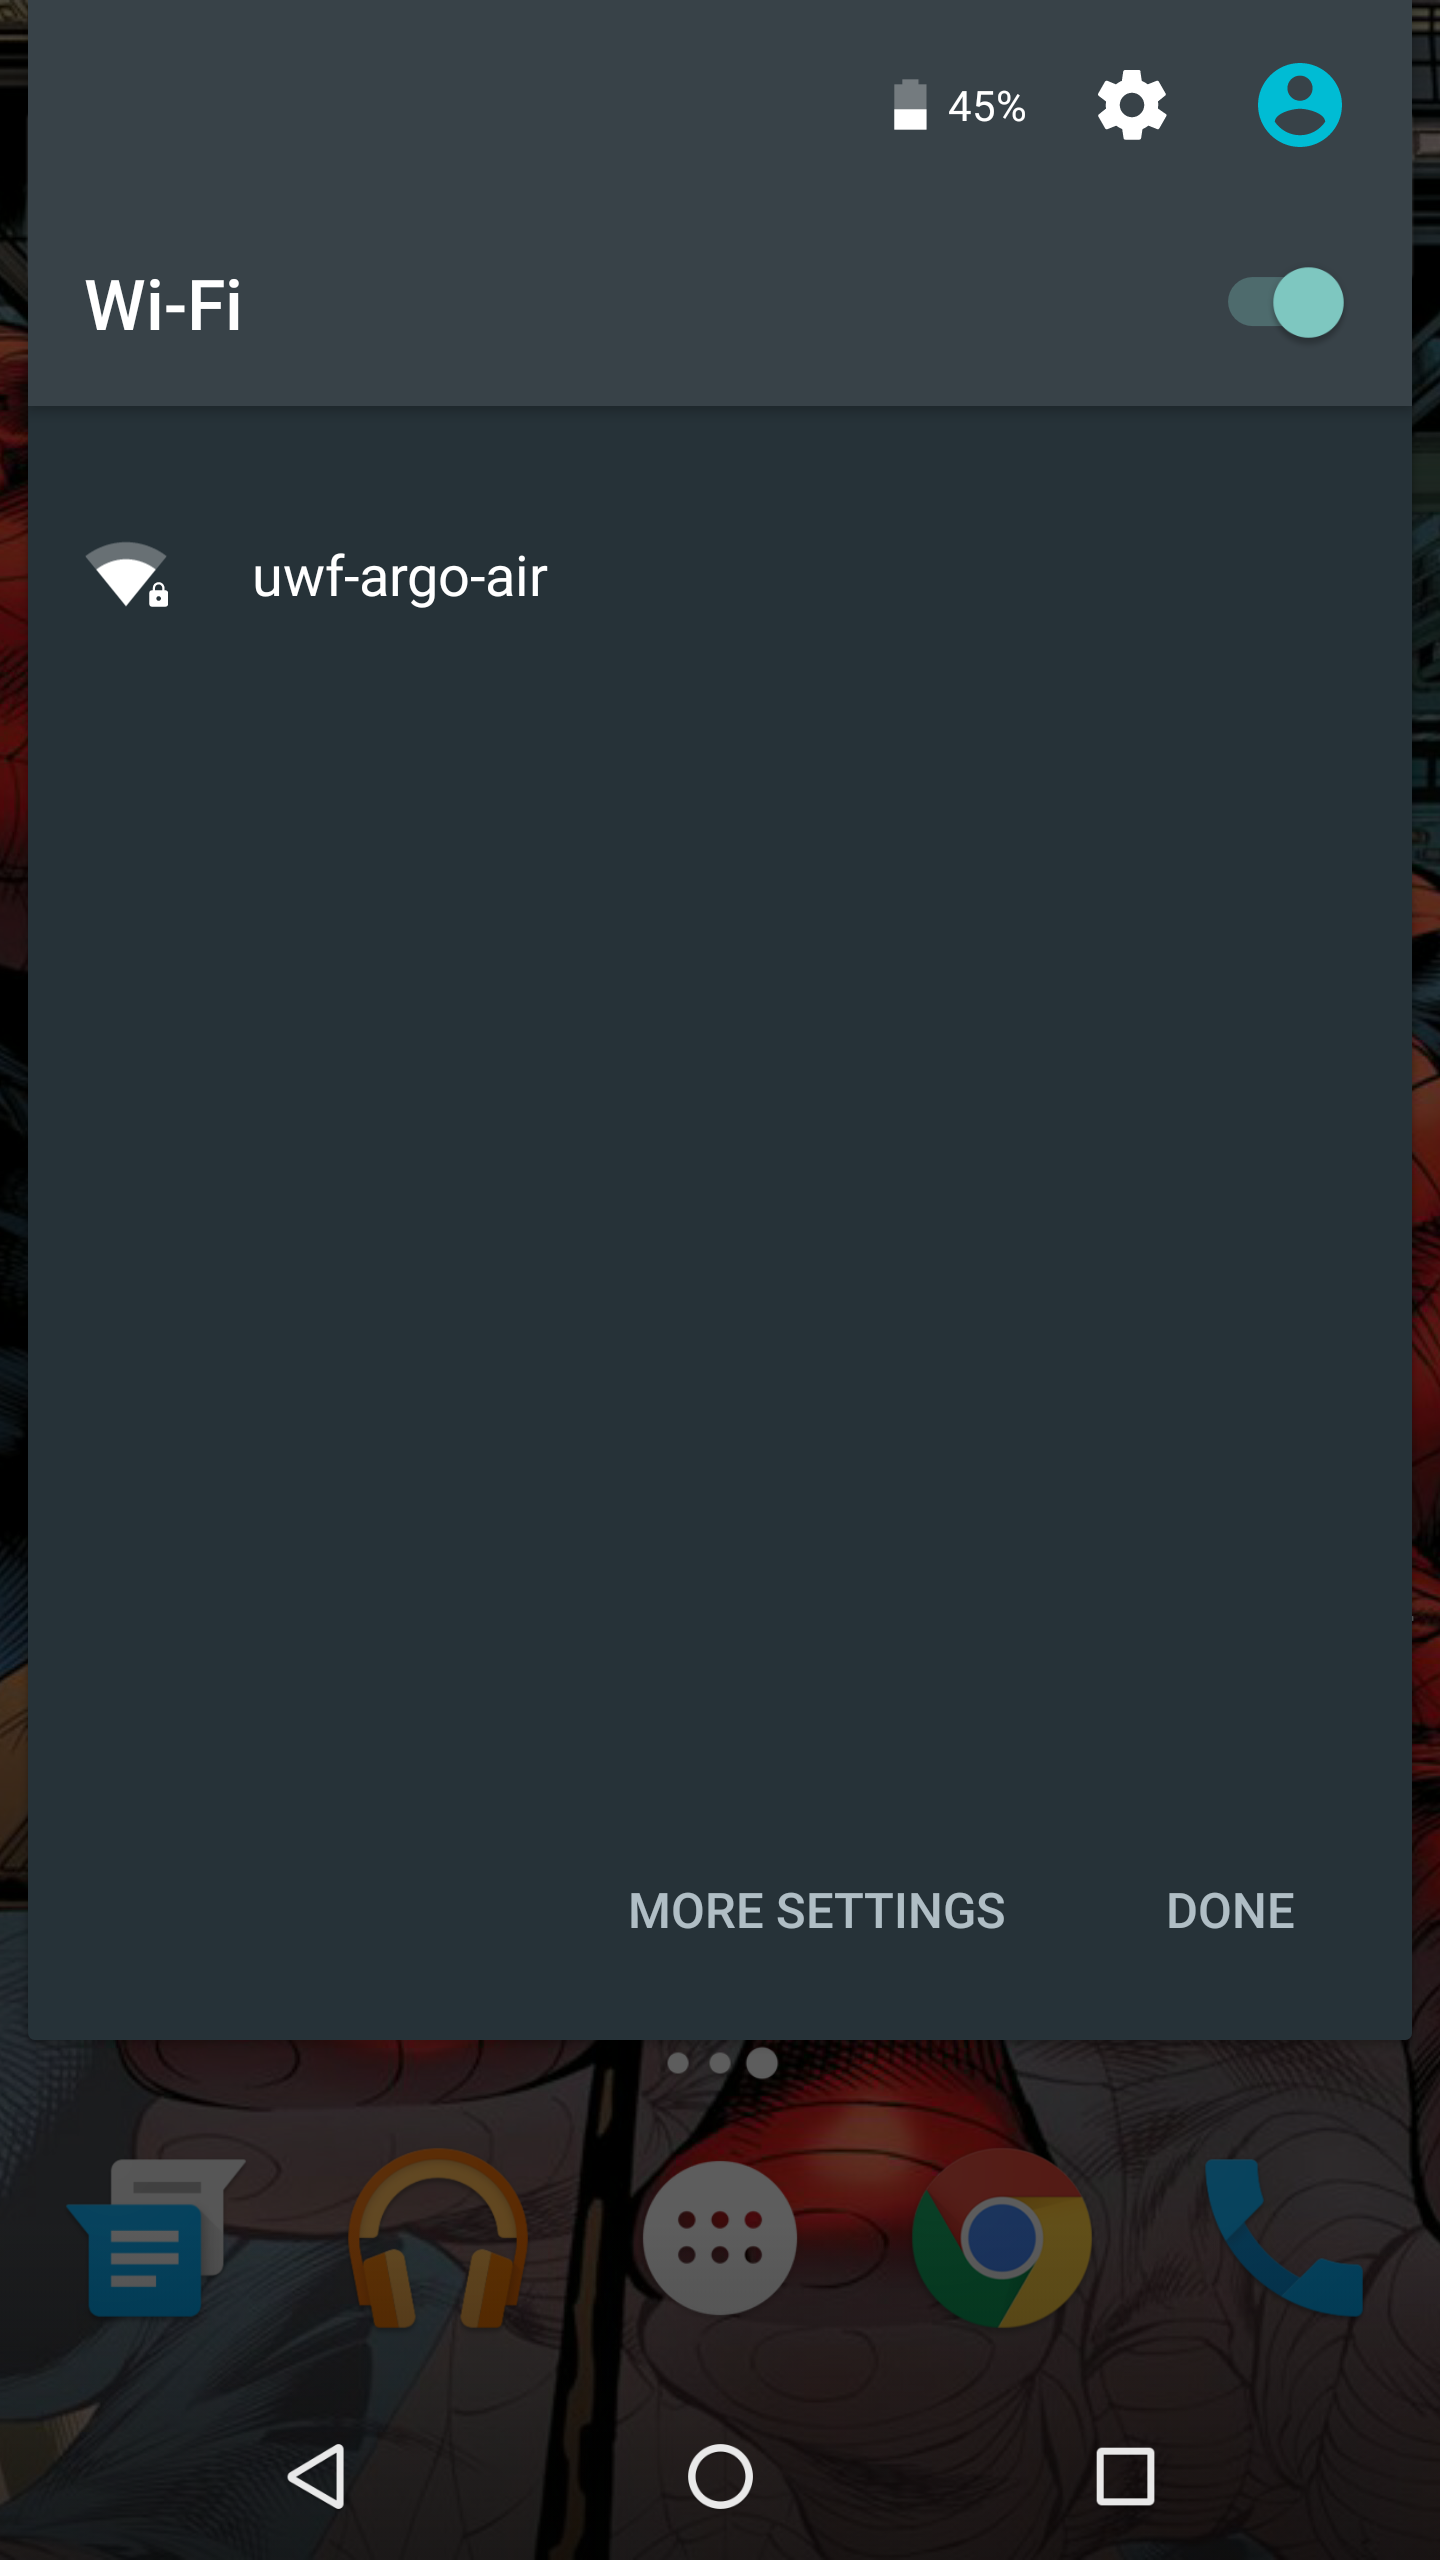
Step 3
Under Wi-Fi networks, select MORE SETTINGS.
Step 4
Click uwf-argo-air, then click FORGET.